Homemade Foamboard Cutter

As mentioned previously I made a foamboard cutter to allow me to make consistent and neater 45º cuts. I initially made it out of foamboard itself but have since disposed of it as it was unsuccessful and didn’t give great results. I went with the X-acto X7747 in the end but its worthwhile describing the build process in case it is of use to others to replicate or improve.

I have replicated my basic construction using corrugated cardboard and cocktail sticks in place of foamboard and pins. The basic idea is that the folded shape of the cardboard provides the cutting angle and the cocktail sticks help to keep the blade in the same position.

IMG_20150226_004541 IMG_20150226_004701

Fold the cardboard to 45º (or any angle you desire). Use a protractor for better accuracy. You may need to take the cutter’s shape into account if the cutter puts its own angle on the blade. My cutter maintains the blade perpendicular to the holders base so no corrections needed. Use tape/glue to hold the folds in place.

IMG_20150226_004933

Insert cocktail sticks to provide a resting place for the cutter. Make sure to push them through to the back aswell. This will provide an anchor point for the cocktail stick and provide a greater resistance to downward pressure on the blade when in use.

IMG_20150226_010748 IMG_20150226_010802

Mount the cutter on the cocktail sticks and add extra/adjust as required. Once you are happy with the setup, you can trim the cocktail sticks. Secure the cutter to the holder using tape.

You are now free to cut at whichever angle you have setup.

There is a good bit of scope to improve the design. Using wood to form the base would add sturdiness and using a razor blade mounted via screws would help prevent movement of the cutting blade. There is also a flaw in the build shown above – the tape at the rear of the cutter blocks the movement of the sliding blade. D’oh!

After I had prepared this post but before publishing, I saw this on Hackaday. Great minds think alike!


Silhouette Cameo

One of the tools I use quite a bit is the Silhouette Cameo, although mine is the previous non-touchscreen version. Its an automated cutter that will do vinyl, paper, acetate and card – imagine a printer but with a cutting blade instead of an ink head.

cameo

My model, now replaced by a touch screen version


Its controlled via USB (although it can also work from SD cards in a stand alone mode) and uses the Silhoutte Studio software to design your cutting files. The Cameo also has optical recognition built in so it can recognise registration markings that you have added to a print out. This allows you to use an existing image, add cutting paths for the blade to travel over, then print out the image on your medium of choice with registration markings in three of the corners of the page. The Cameo then scans these markings via the optical recognition camera to get the correct alignment and cuts along the paths you have laid out in software. This video does a good job of showing the entire “print and cut” method.

Like the majority of the vinyl cutters, the medium is held in place by a sticky cutting mat. The tackiness does decrease overtime with usage but it can be refreshed by using some spray adhesive. The supplied mat is a 12″ x 12″ but there are larger ones available as well as with different levels of stickiness. This is pretty good for the majority of work as it allows for A4 usage with ease (and A3 if you choose your alignment wisely).

The blade is replaceable but I have yet to need to do so after quite a bit of cutting. There are other replacement blades available from 3rd parties which are linked down below. The upside to these is that they are much cheaper but you do risk your warranty if you cause damage whilst using them.

Overall I think its a great tool and once you start using it, you can find all kinds of uses for it.


Pro’s

  • Software is pretty easy to use, especially if you have some desktop publishing skills
  • Print and cut feature is very useful
  • The import of other graphics formats and fonts means that you can cut an infinite number of designs rather than restricted to a limited few (or pay for more) like the Cricut Mini
  • Can do very detailed work down to 1mm wide
  • Once the design is finalised, it is very easy to churn them out

Con’s

  • Tracing some images can be difficult and time consuming if the edges are not clearly defined
  • Can be loud to some
  • Official blades can be expensive
  • The print and cut alignment can sometimes take a few attempts or requires the material to be moved on the cutting mat
  • Occasionally it will get the alignment wrong which can be costly if you are using expensive/limited material although this was usually when I had plugged it in and out a few times


Links to discussons on alternative blade holders

http://paperpulse.blogspot.com/2013/06/a-better-and-less-expensive-blade.html

http://ligayatg.blogspot.com/2012/04/aluminum-blade-holder.html

http://forum.make-the-cut.com/discussion/20110/blades-in-the-silhouette-cameo

http://ramblingsofababymakingaddict.blogspot.com/2013/05/replacement-blades-for-silhouette-cameo.html

X-acto Foamboard cutter (X7747)

One of the materials I have started working with recently is foamboard. It is made up of a layer of polystyrene sandwiched inbetween two thick paper layers.It is a very lightweight but sturdy material that is structurally very stable and pretty easy to work with. I got mine in a local art/crafts shop but its pretty cheap online too.

Its best cut by using a sharp blade and running the blade along the cut line three times. Once to break the first paper layer. Second to cut through the foam layer and third to cut the second paper layer. By taking advantage of the integrity of the second paper layer until the third cut is made, you can make some interesting cuts and incisions to achieve different joining mechanisms. I will talk more about these in a different post.

There is a difficulty in cutting at 45 degrees however. Due to the thickness of the foamboard, you often need to make 45º cuts for neater joints, especially at corners. Looking on Youtube, a lot of folks are using specific foamboard tools, usually the ones from Logan. I tried sourcing some of these but they were quite pricey to get locally and even when getting them online, they were still rather expensive.

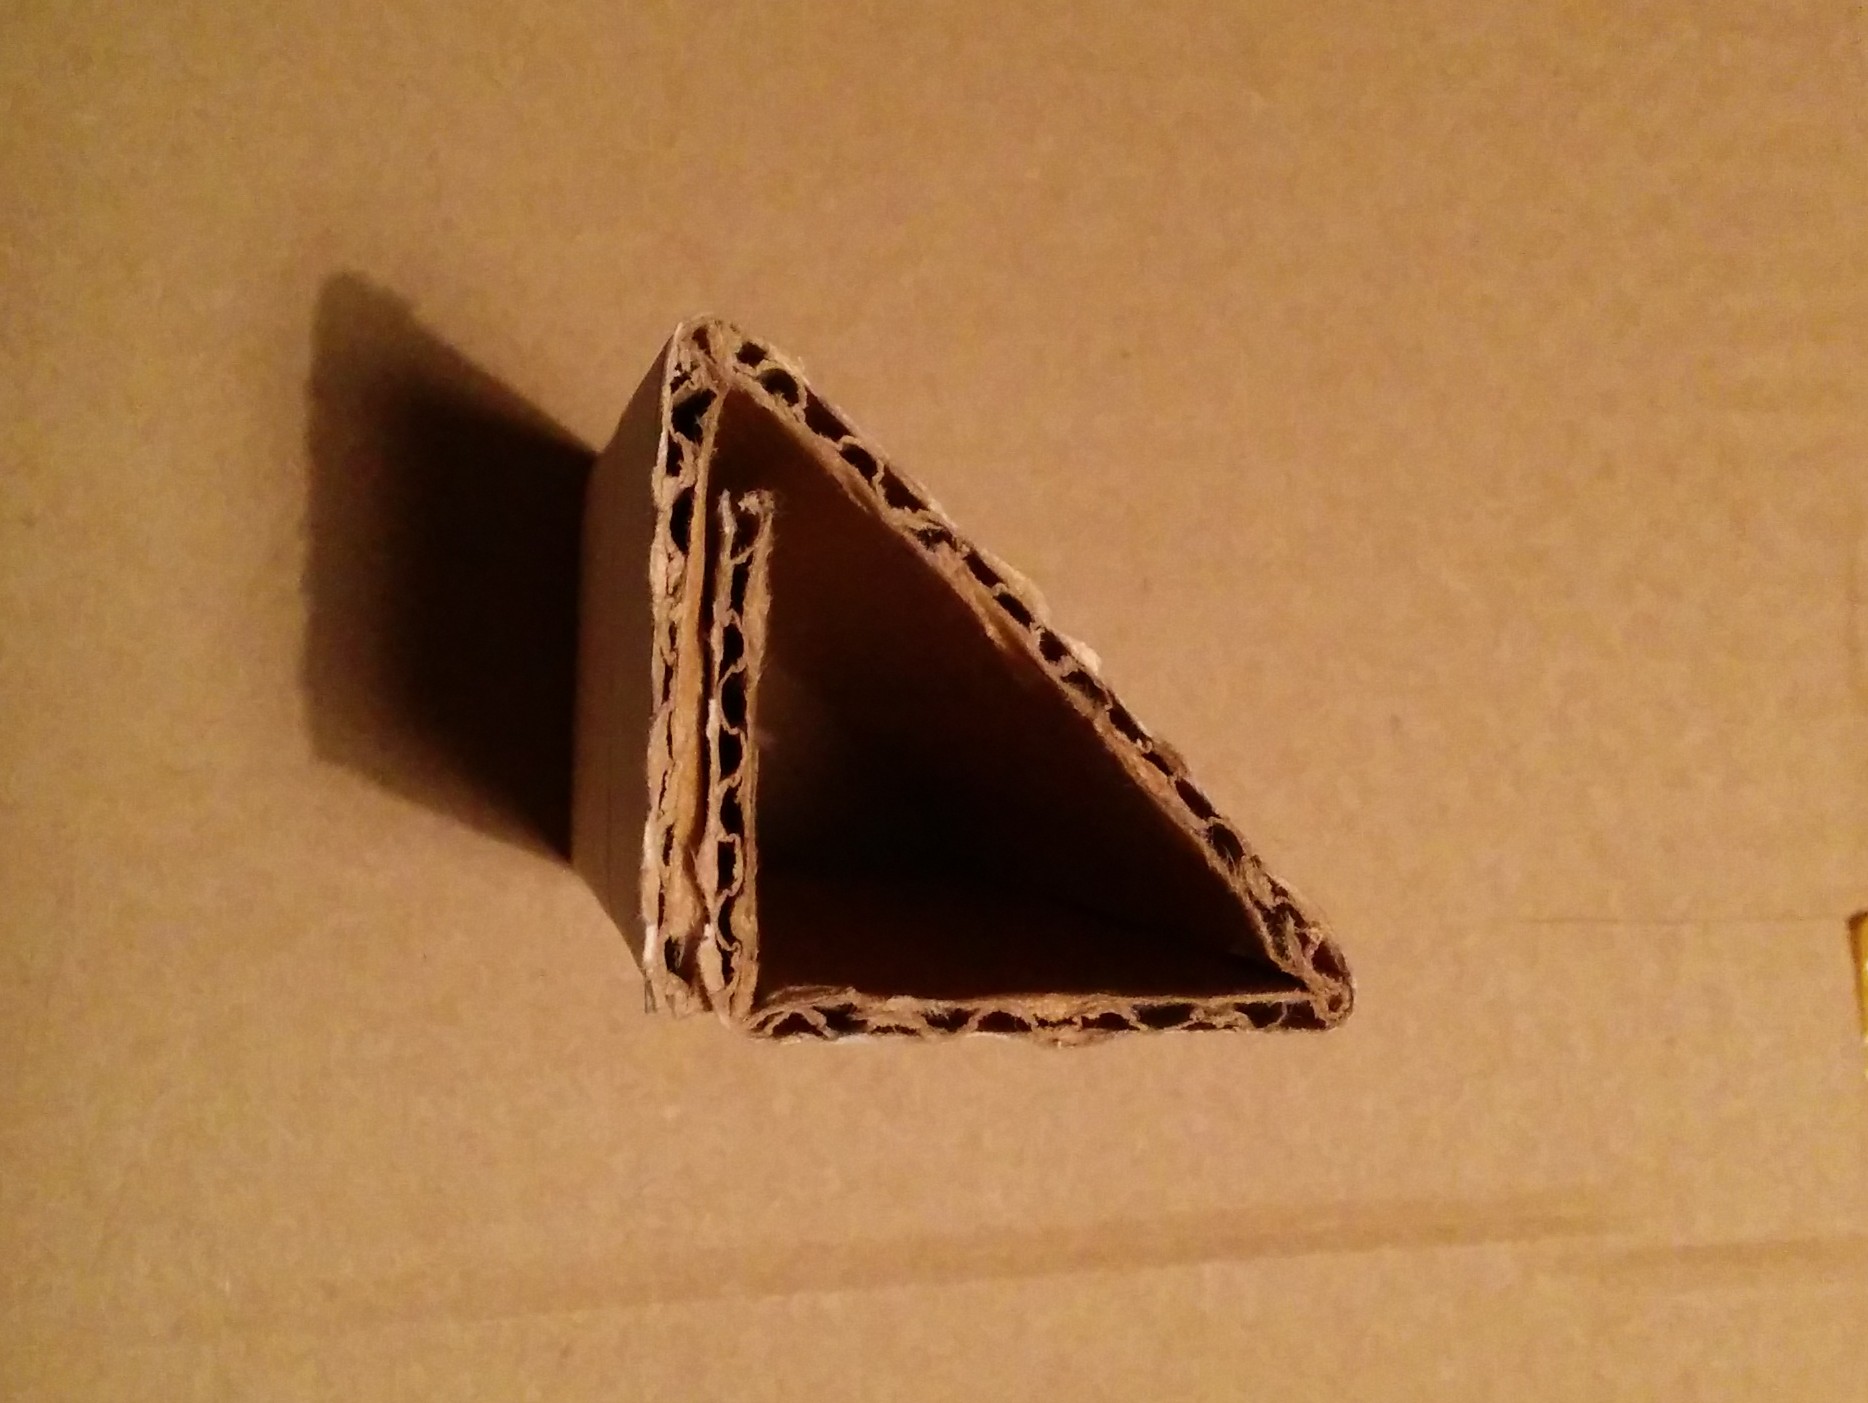
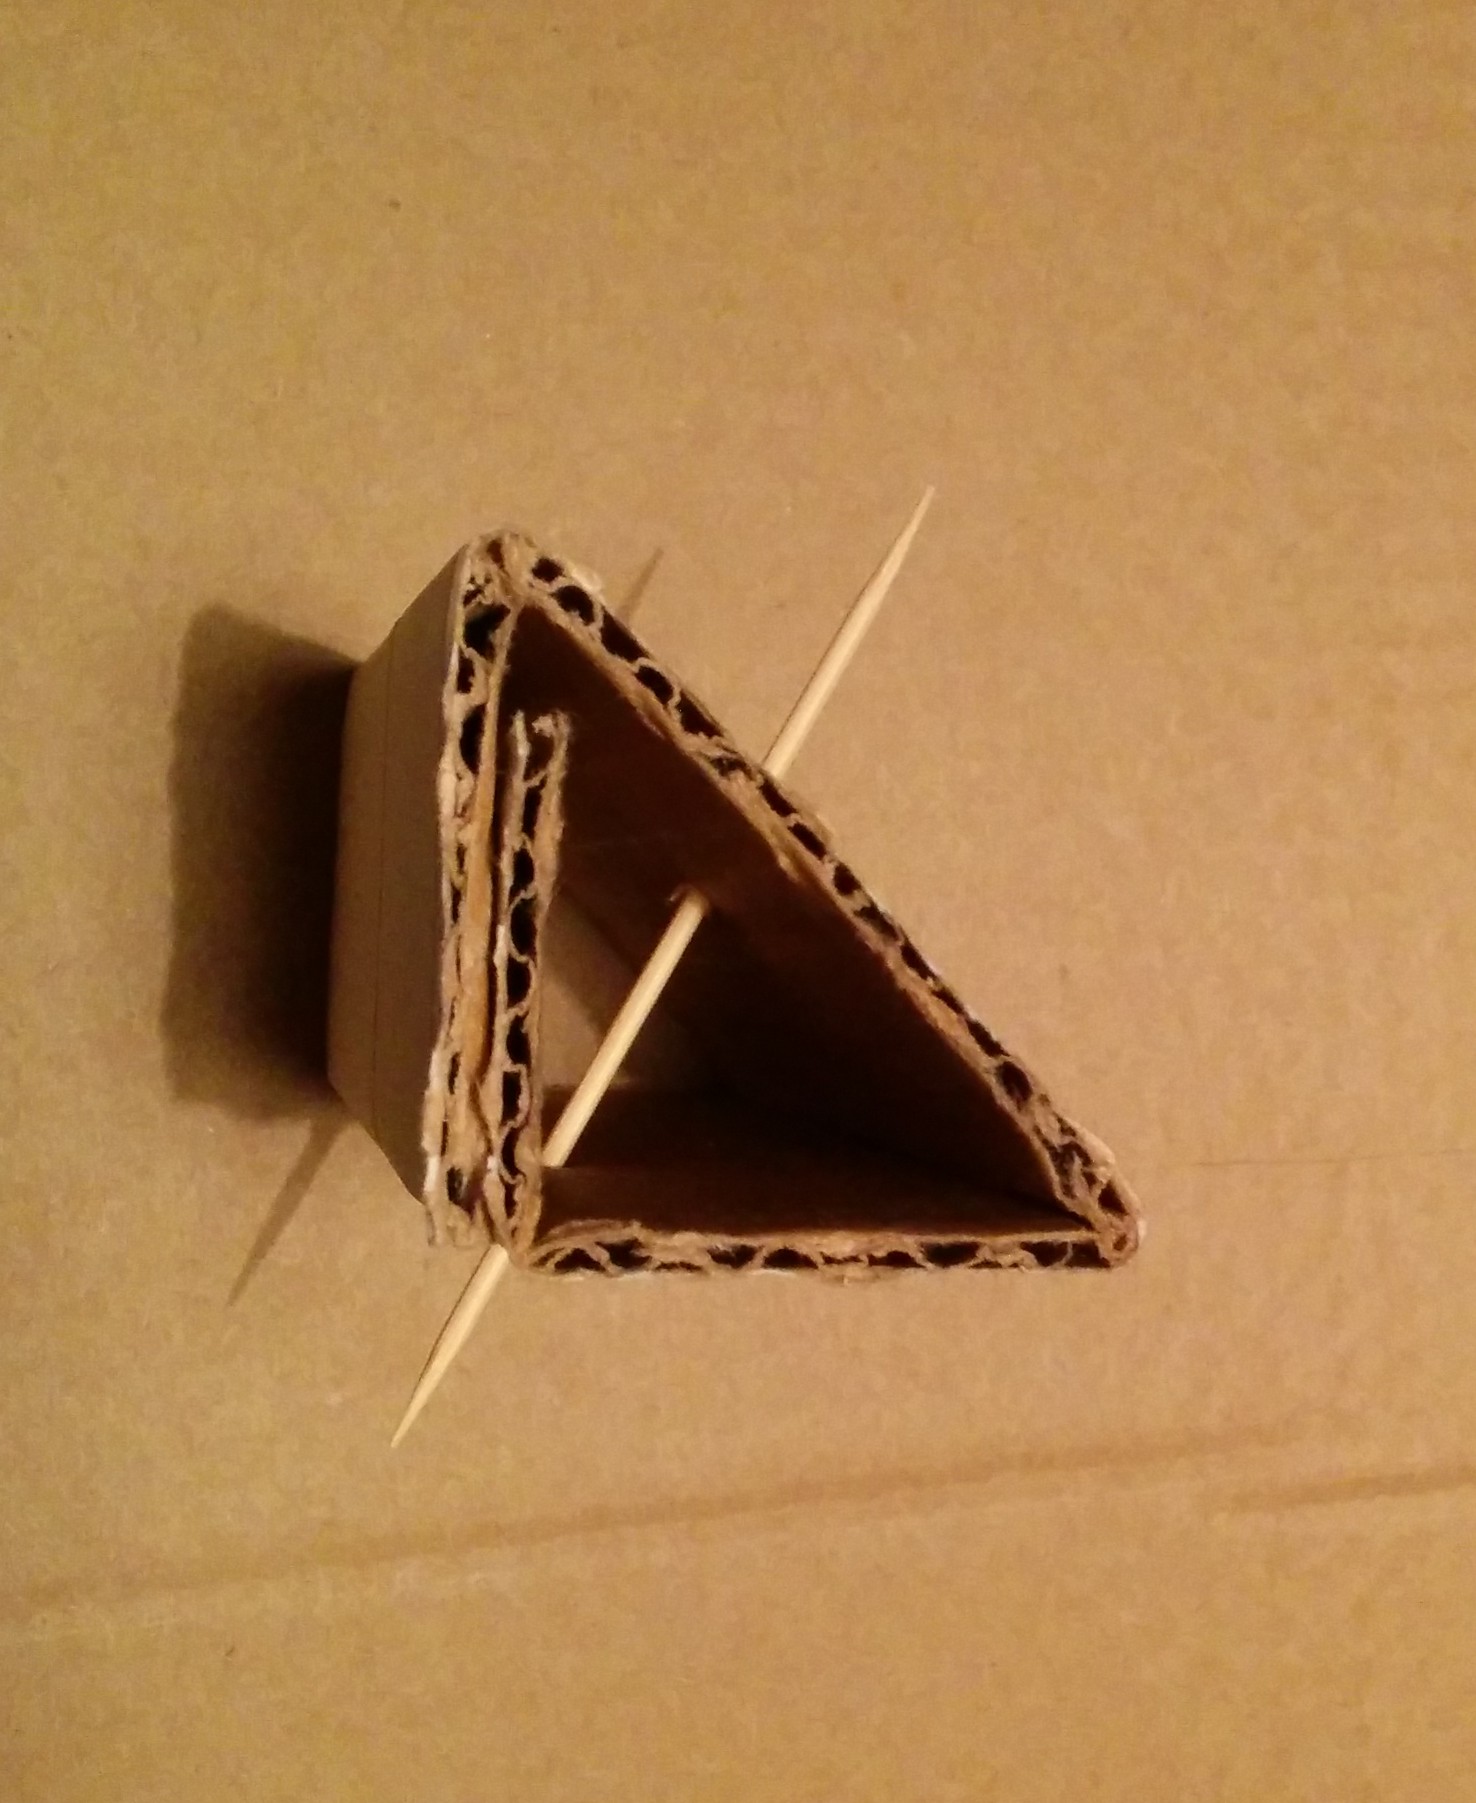
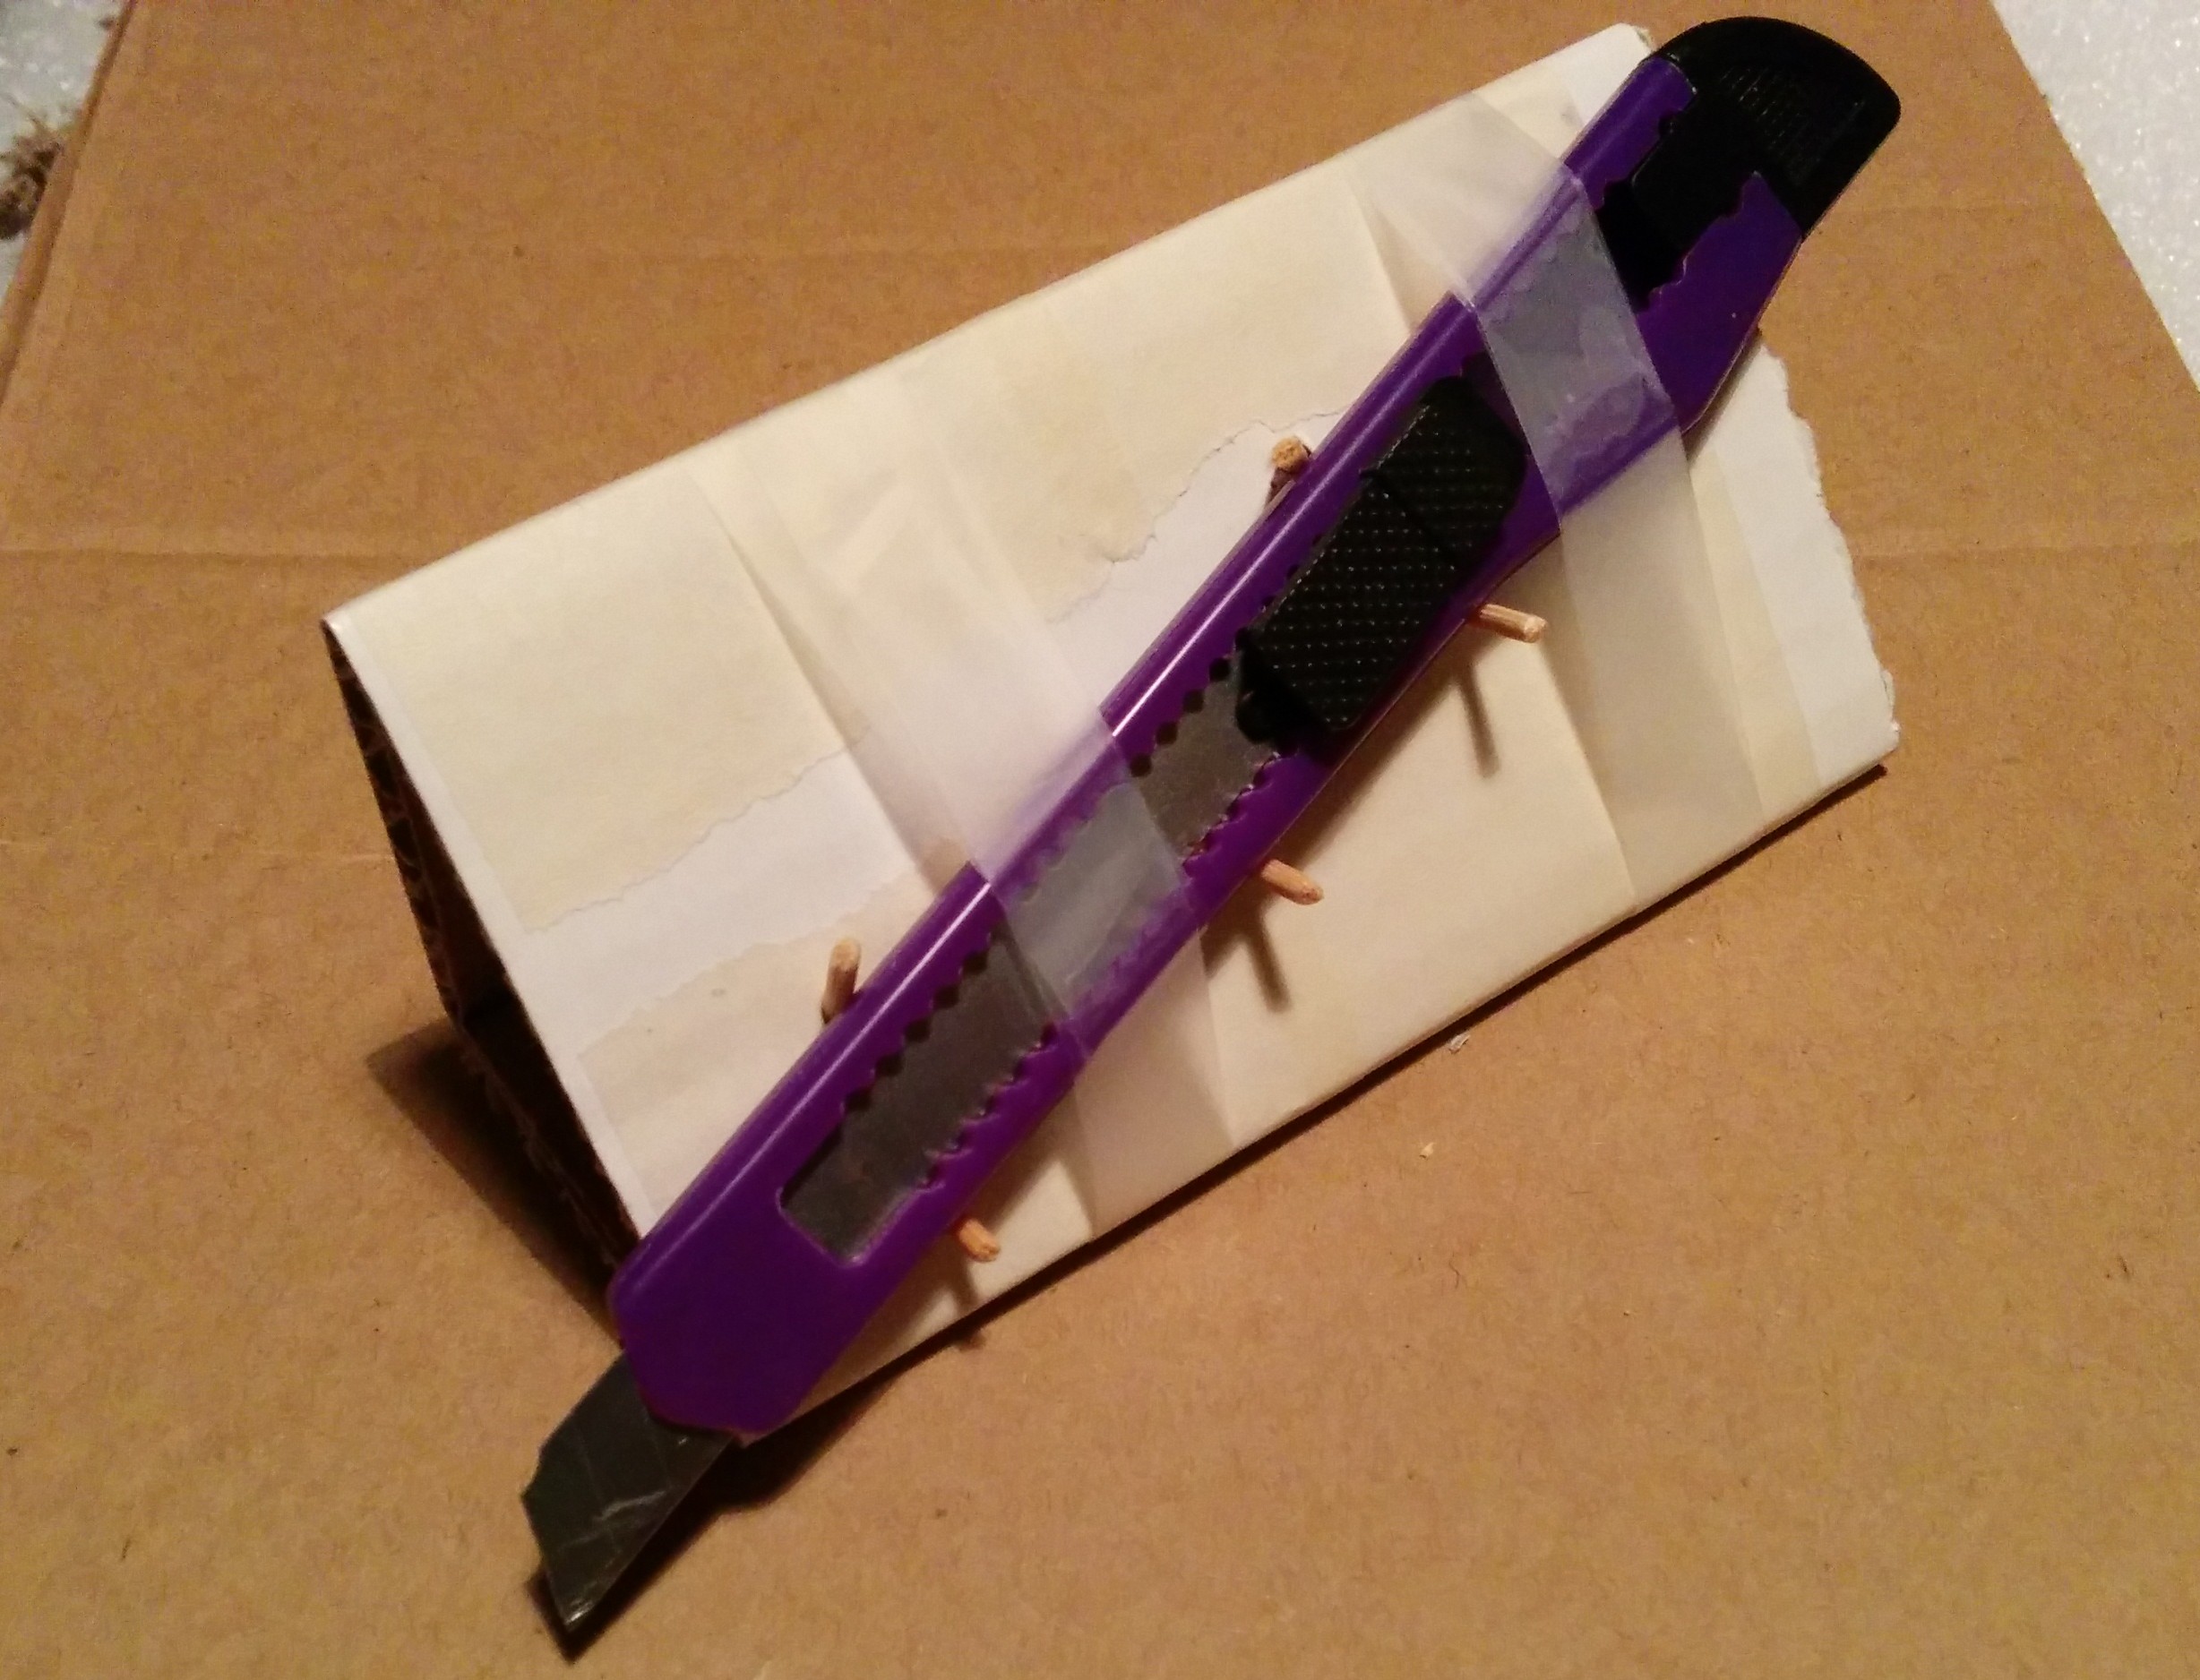
I tried making the 45º freehand but they were uneven and gave a poor finish. So, in true cheapo style, I decided to make my own. I had some scrap pieces of foam board that I had been using to test paint interaction with the foam itself. Using these and some pins, I attempted a crude angled holder that was designed to work with one of my cutting blades.

It sort of worked but it was difficult to maintain the positioning of the blade and keep the holder on track at the same time. The theory was sound but needed a better construction – possibly out of wood and screws. I was on a tight-ish deadline with the project I was working on so felt it was better to splash the cash instead of fiddling with another project to complete this one

In steps the Xacto X7747! Its cheap enough on Amazon (approx €7) and the reviews aren’t too bad. Nothing stellar but not one star level either. Its designed to allow for 45º and 90º cuts although I have only used it for 45º so far. As the depth has to be set manually, it is too cumbersome to constantly be adjusting for the different lengths required for 45º and 90º cuts. There are guide marks but I found them to be two imprecise and ended up doing test cuts after every change to make sure i wasn’t going to run through the second paper layer.

I tried using it as shown in the video but I found I was able to get better results by setting up the cutter as described for left-handed use but to use it with my right hand. I would measure back 25mm from the line I wish to cut, place the straight edge of my ruler along that new line, and run the cutter along the straight edge. This overcomes one of the flaws in the tool which is the short length of the angle adapter.

Another downside, is that the blades are not the standard Xacto blades. It requires 8R Utility Xacto blades which are harder to find and more expensive. Given the ability of foamboard to dull blades quite quickly, it is something to remember.

The shape of the cutter is also a bit awkward to deal with for storage purposes and once you have your blade set to a depth that suits you may not want to change it just for storage. I put mine in a small plastic box without adjusting the blade. This allows me to store it easily in the  toolbox without risk of injury due to stabbing!

Would I still recommend it? Yes! If you are going to be using it for occasional use, the downsides are easily overcome and its pretty cheap. For day to day use it would probably be best to use one of the Logan tools or design your own if you are so inclined.

For those who are really on a tight budget, there is the hobbyking cutter but from reviews, it seems to be a bit of a hit and miss tool. After you factor in shipping, the Xacto isn’t much dearer and the blades are even more obscure for the hobbyking tool. Maybe you have another option to reccommend?