My friends daughter has an upcoming birthday and is having a Lego friends themed birthday party. I had seen an instructable several years ago for some Lego shaped jellies and had always wanted to make some – here was the perfect excuse!
Looking for some food safe silicone to make the mould was proving tricky however. Plenty of places in the UK but either they would not ship outside of the mainland or were exorbitantly priced for a small amount. I was primarily looking at Smooth-On casting products but then went for food safe silicone caulking with the idea to make some oogoo – another thing on my “must try it someday” list.
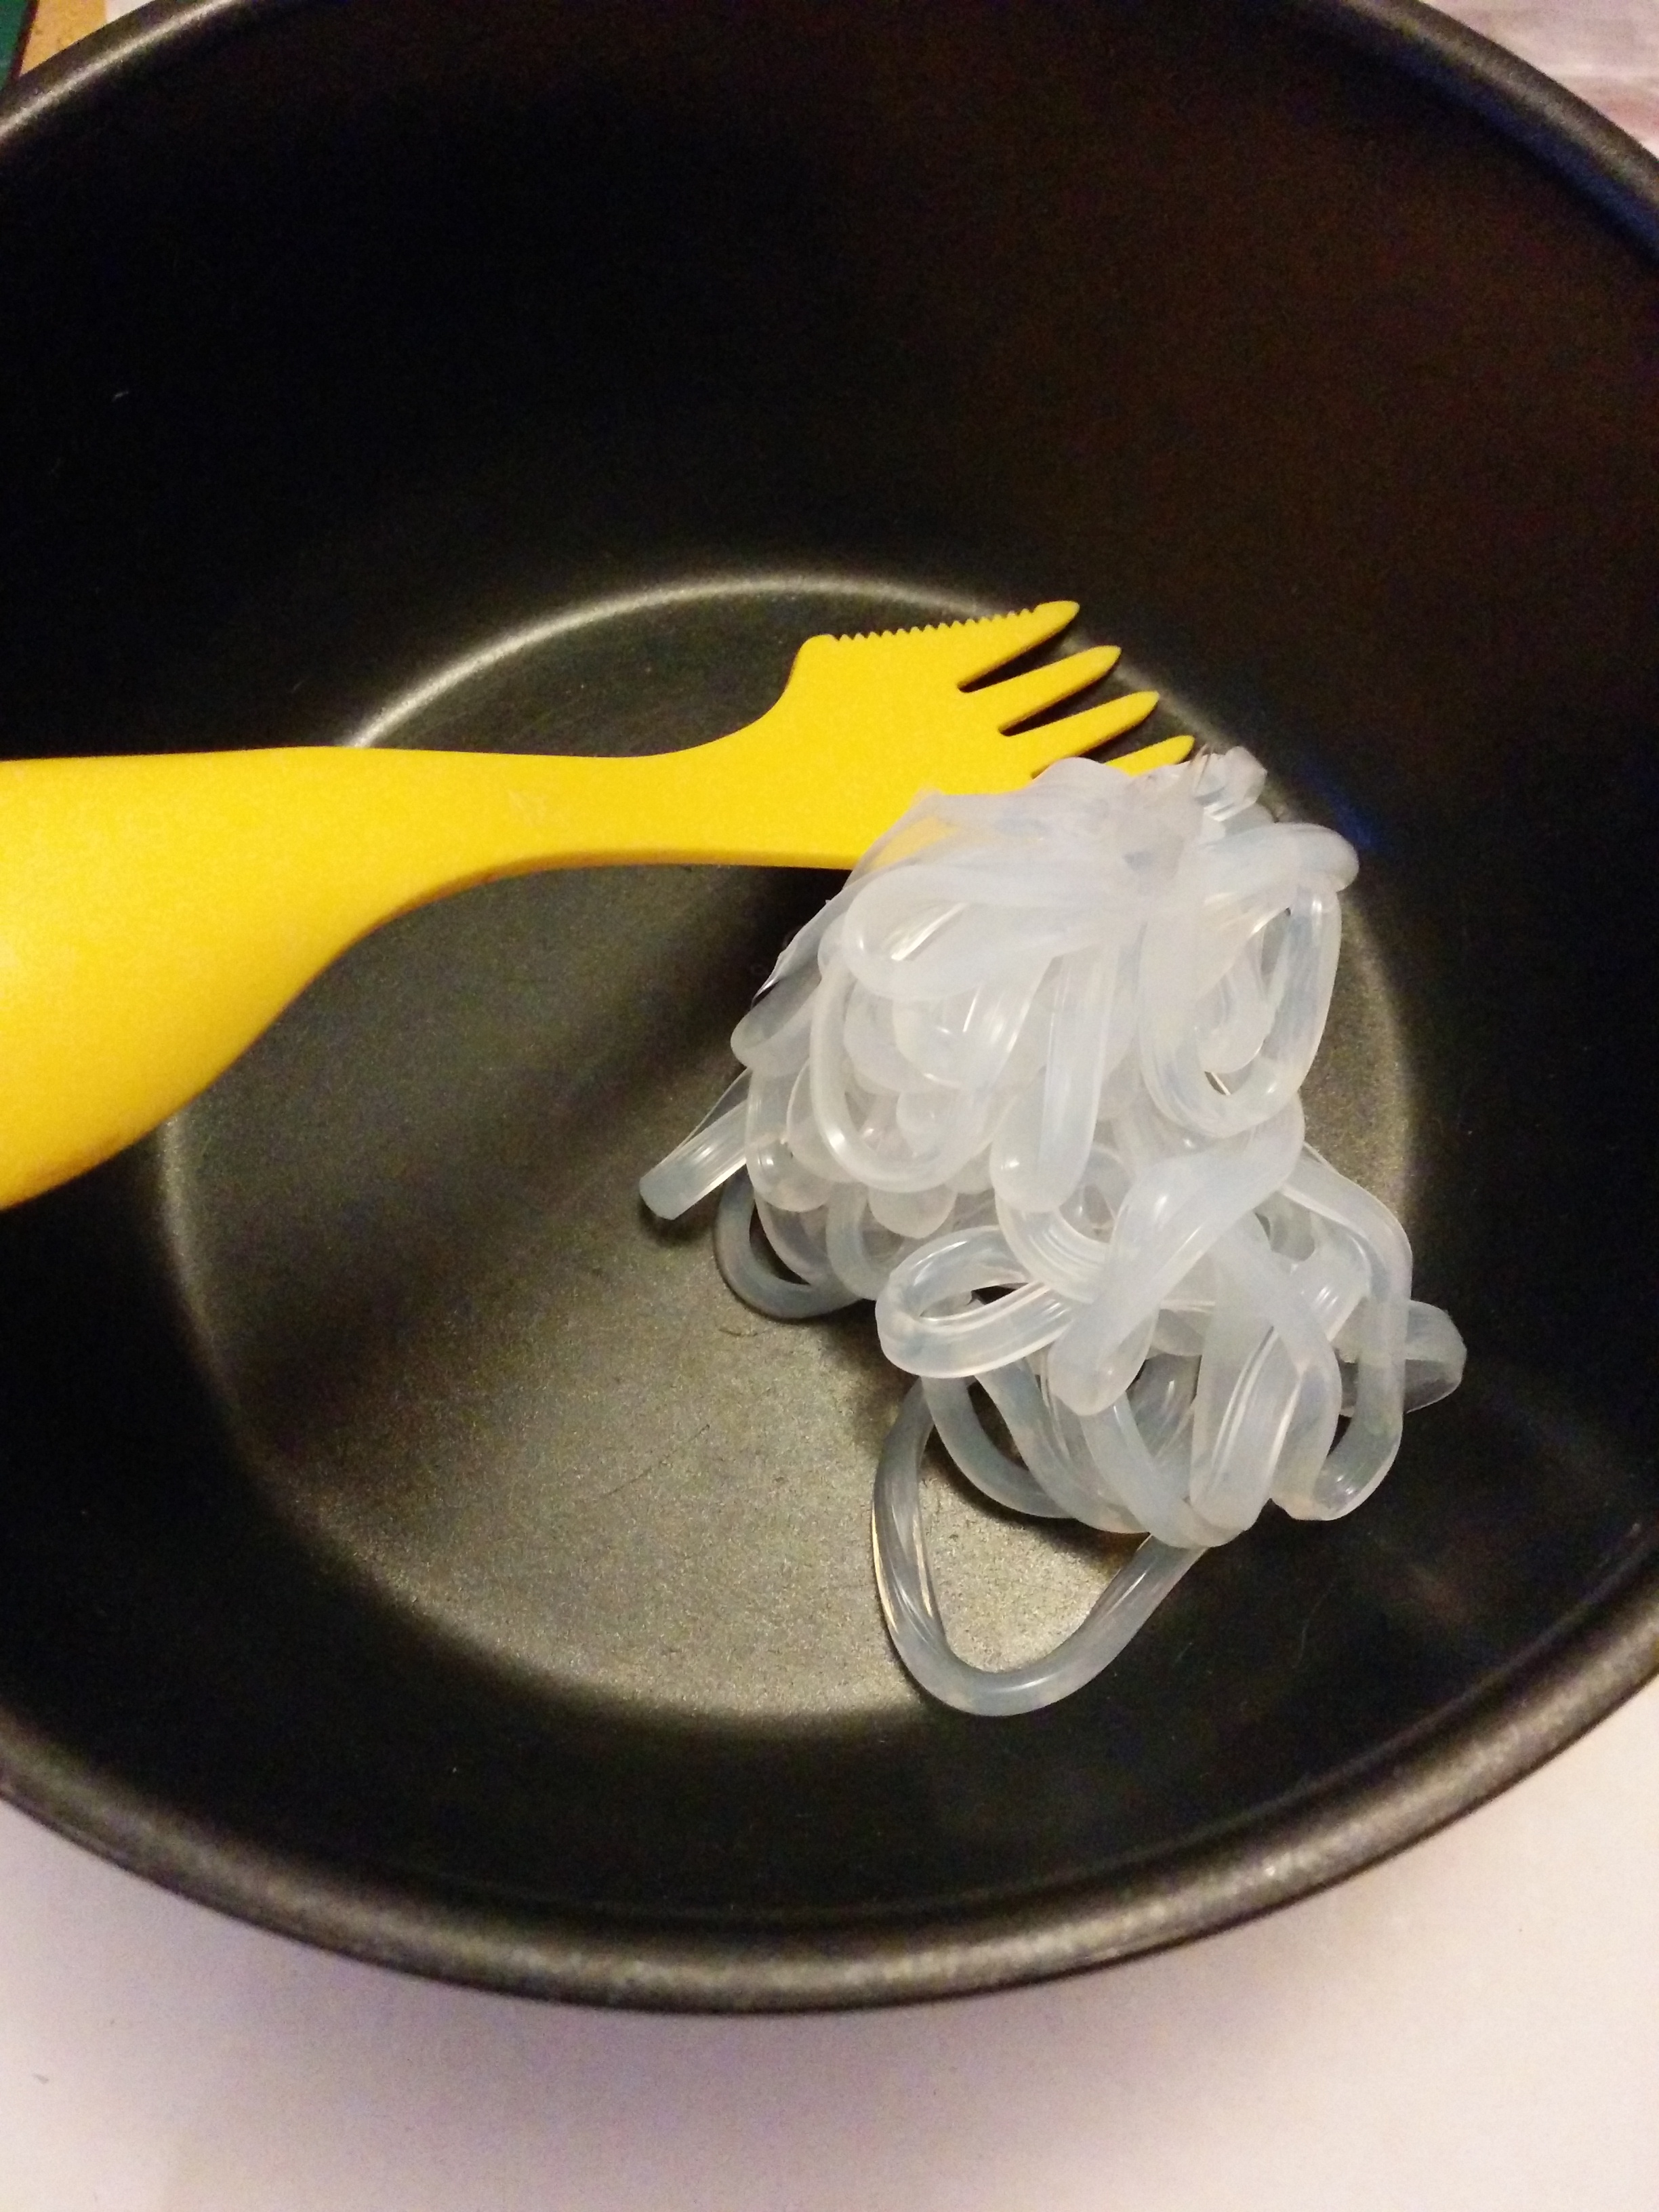
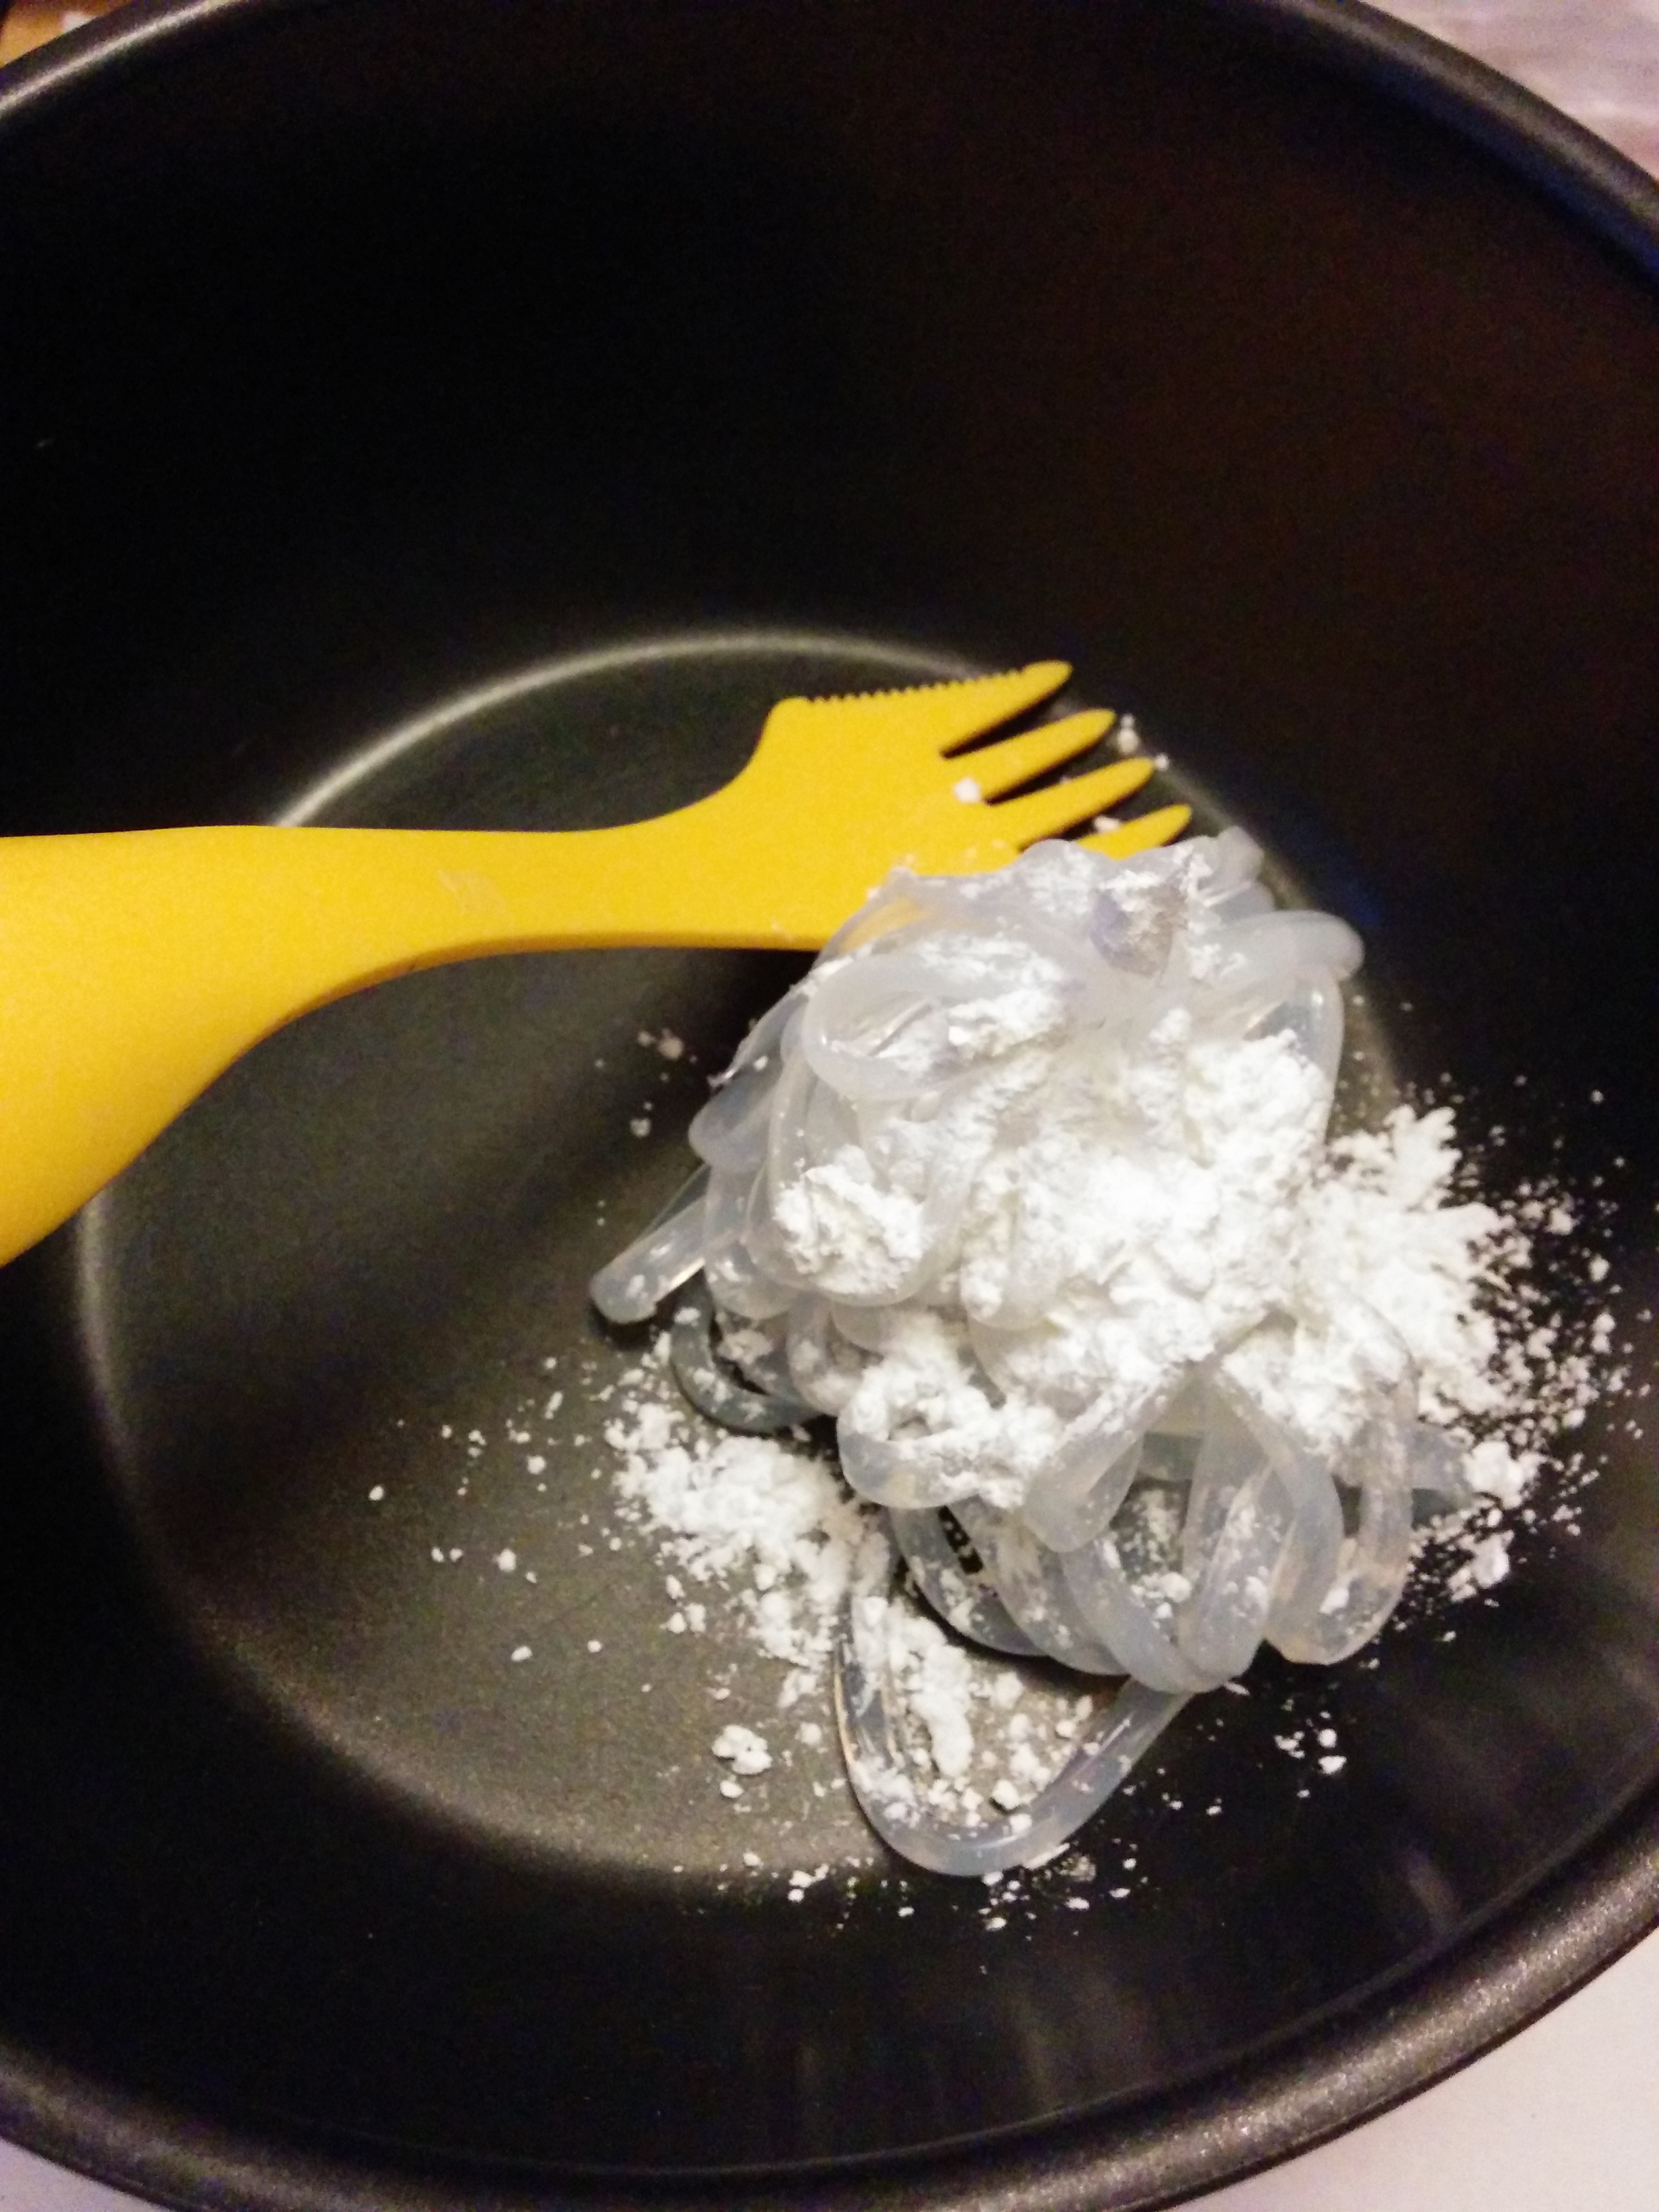
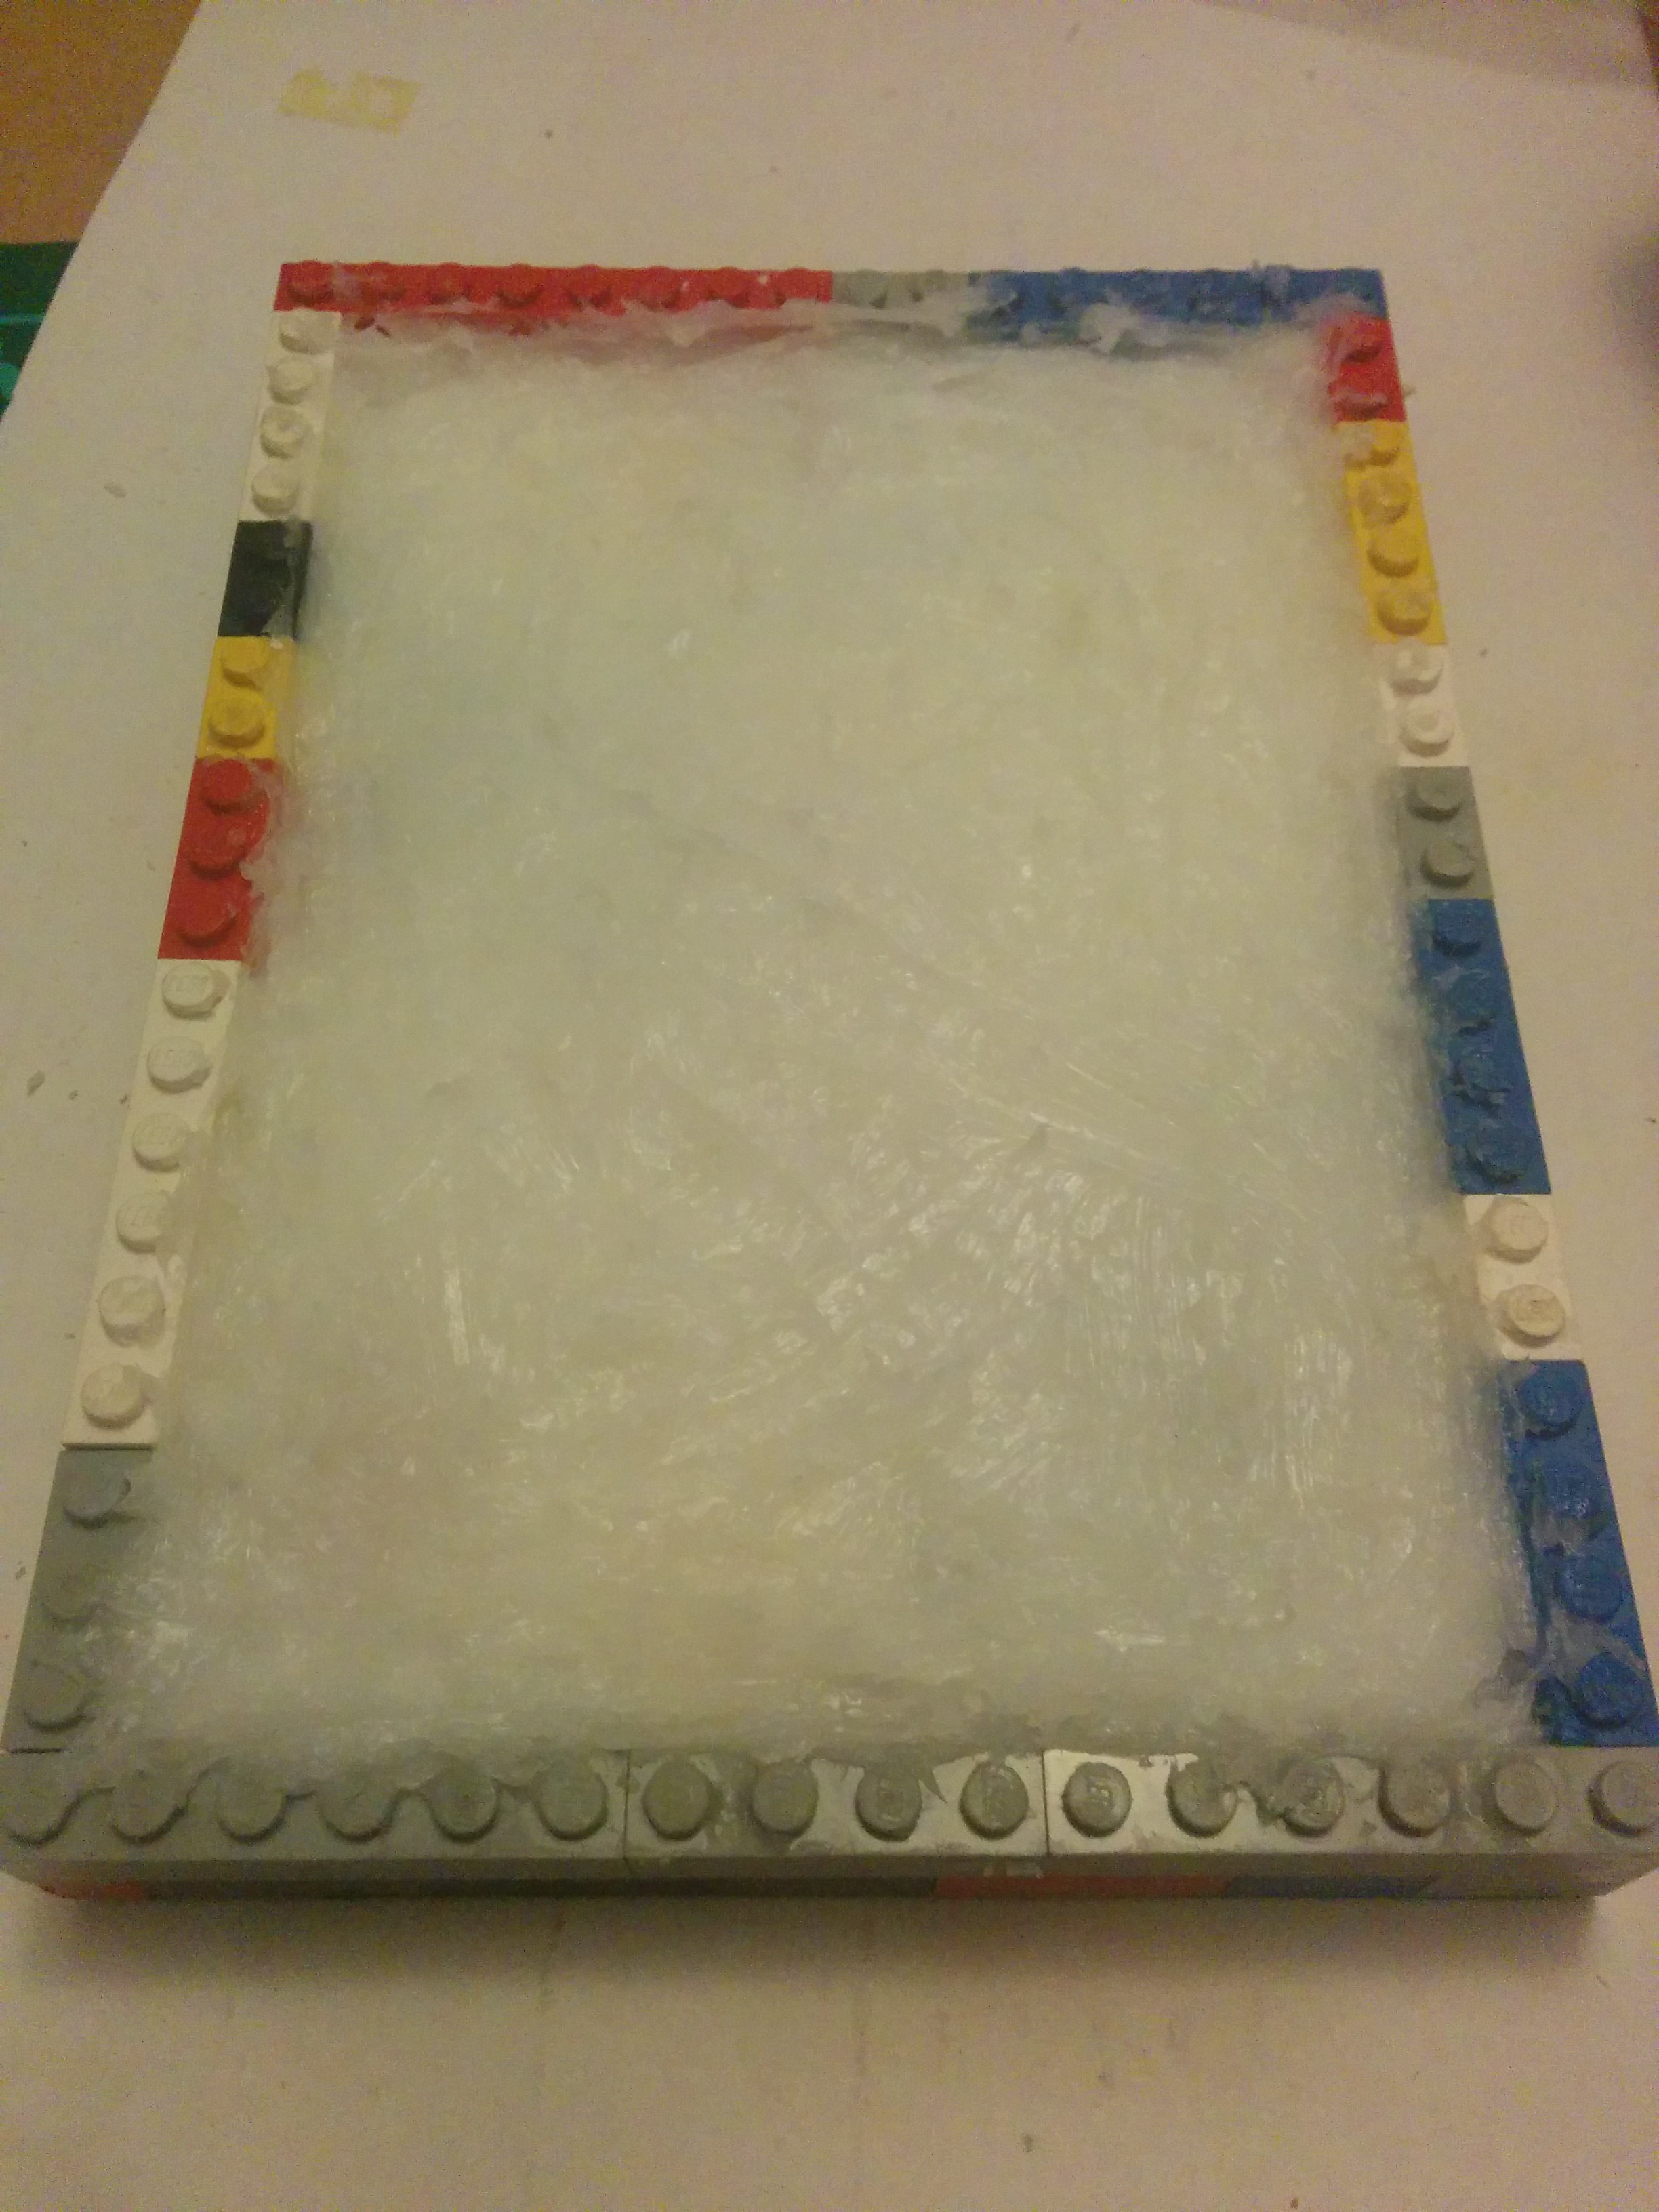
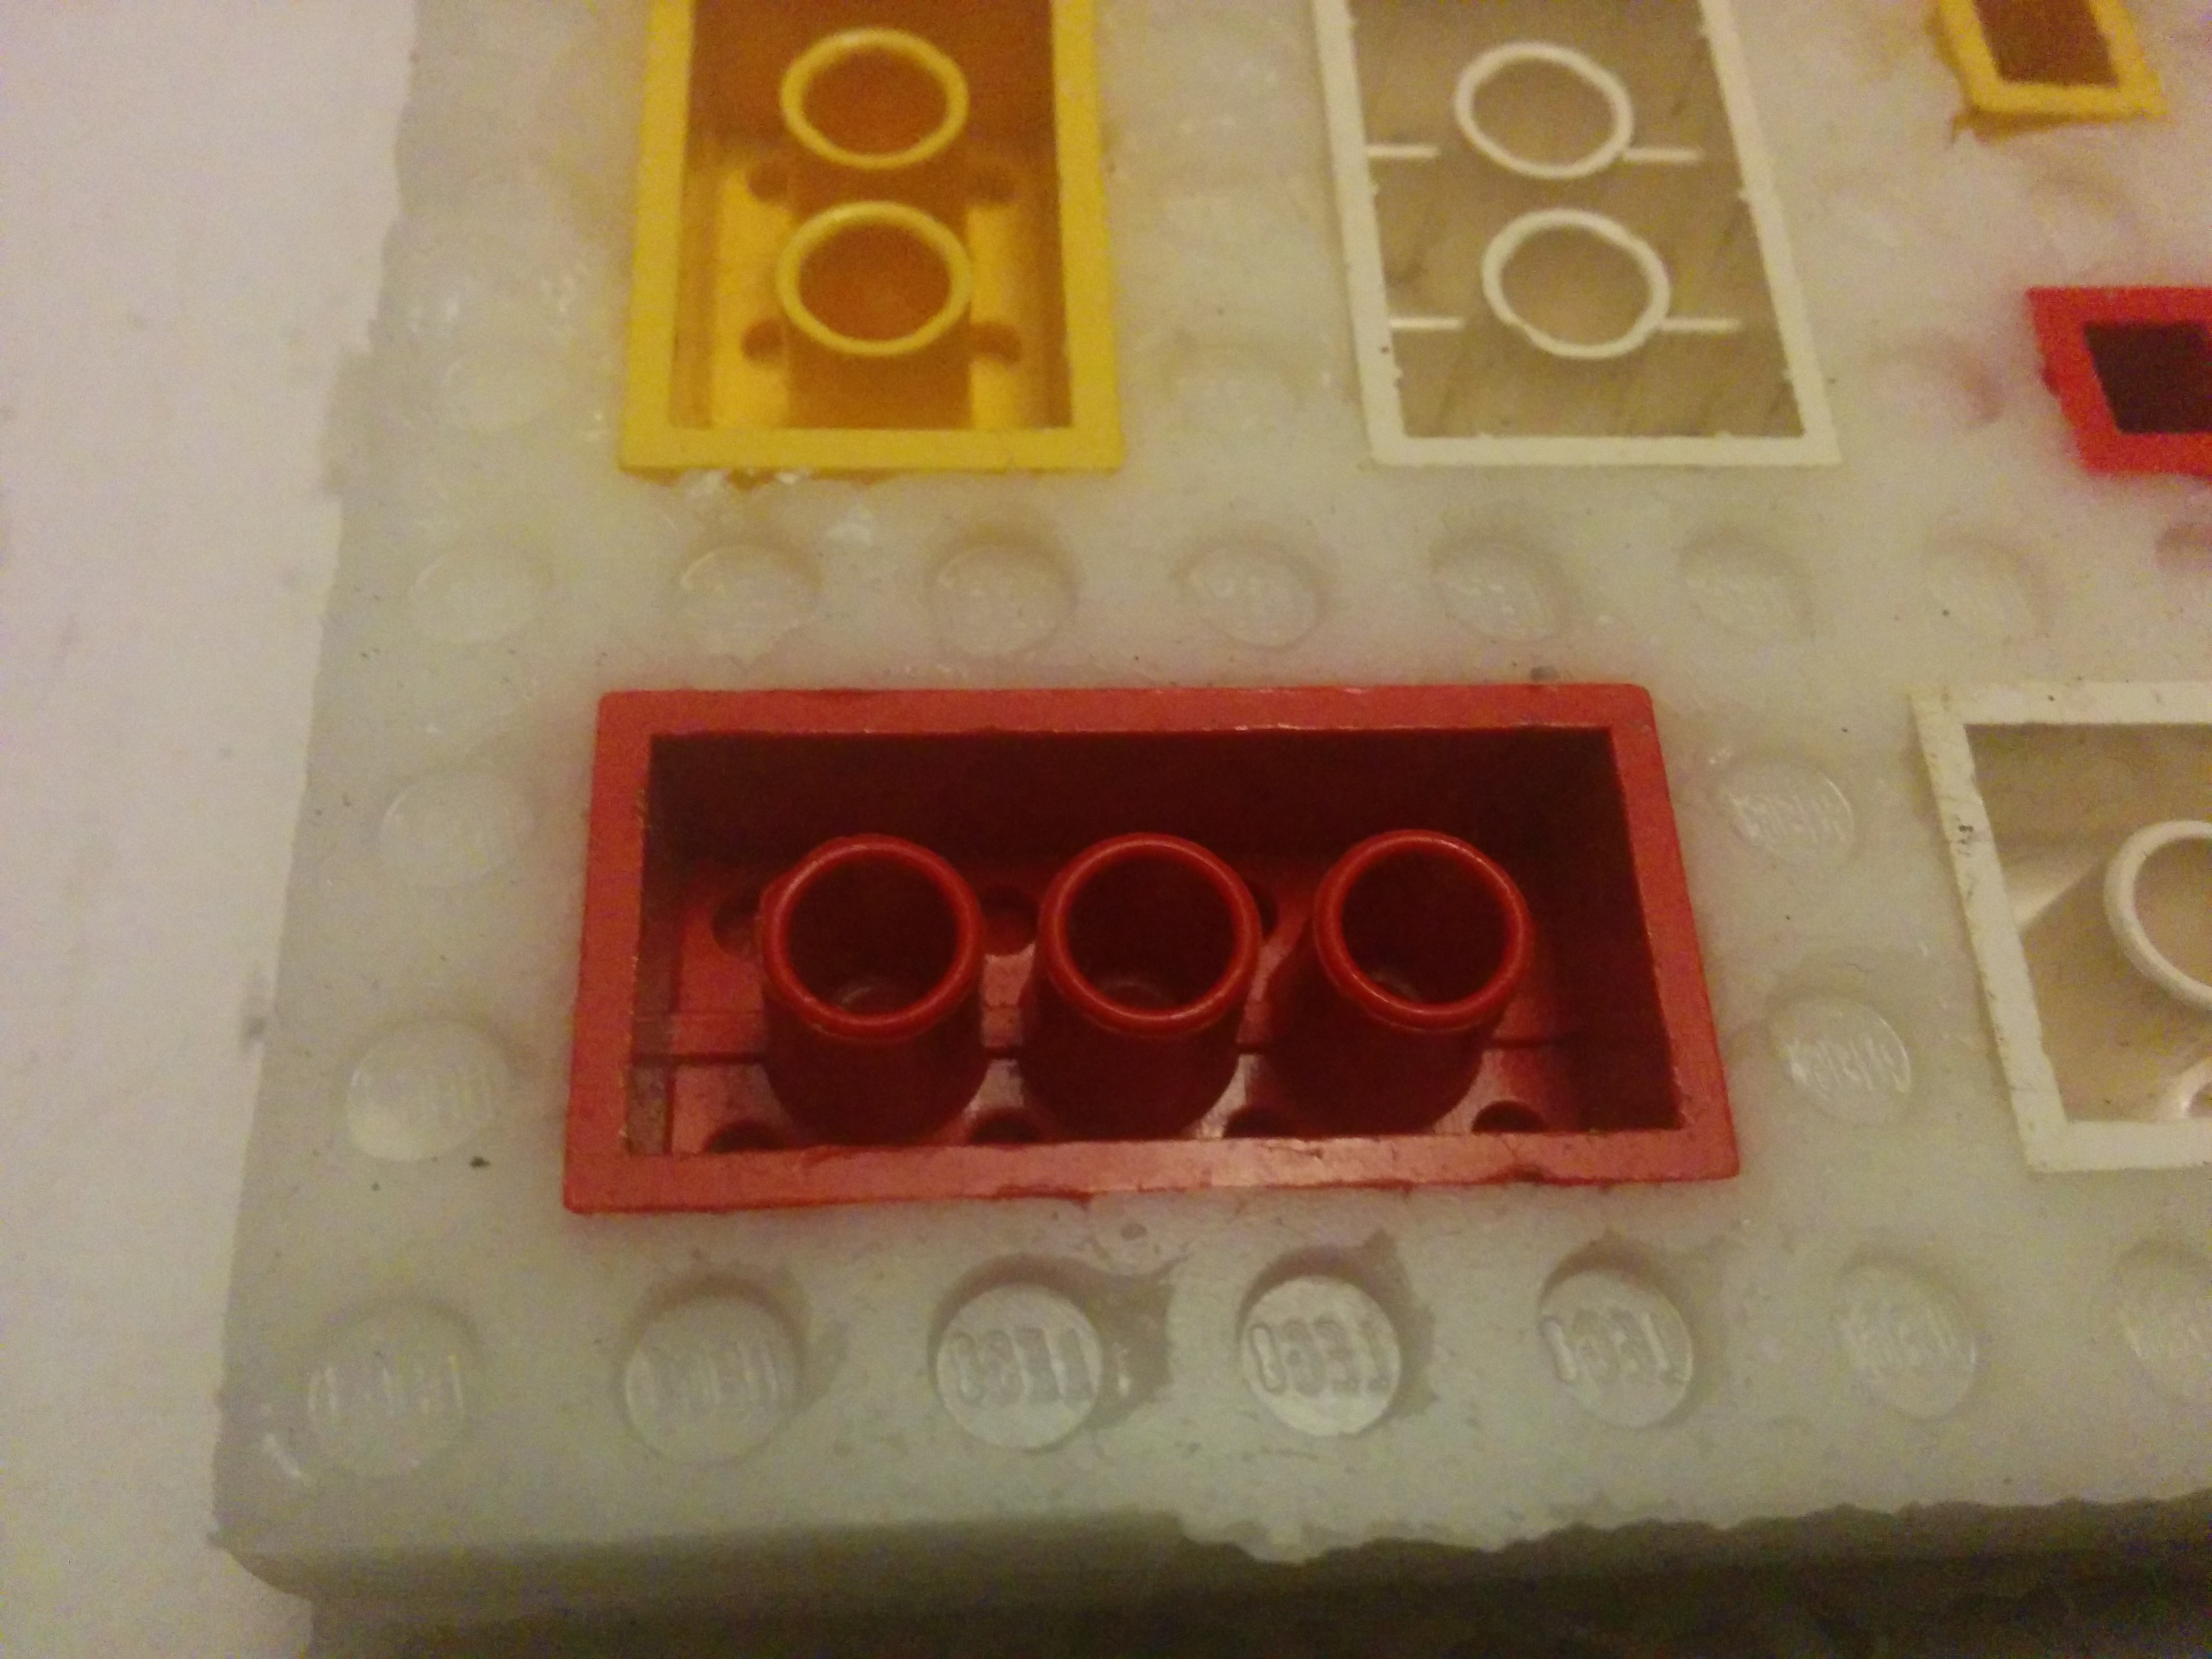
First was to try out some basic non food safe silicone to see how the mould making would go. Unfortunately I didn’t take any pictures of the process but I ended up with a mould as follows after leaving it set overnight.
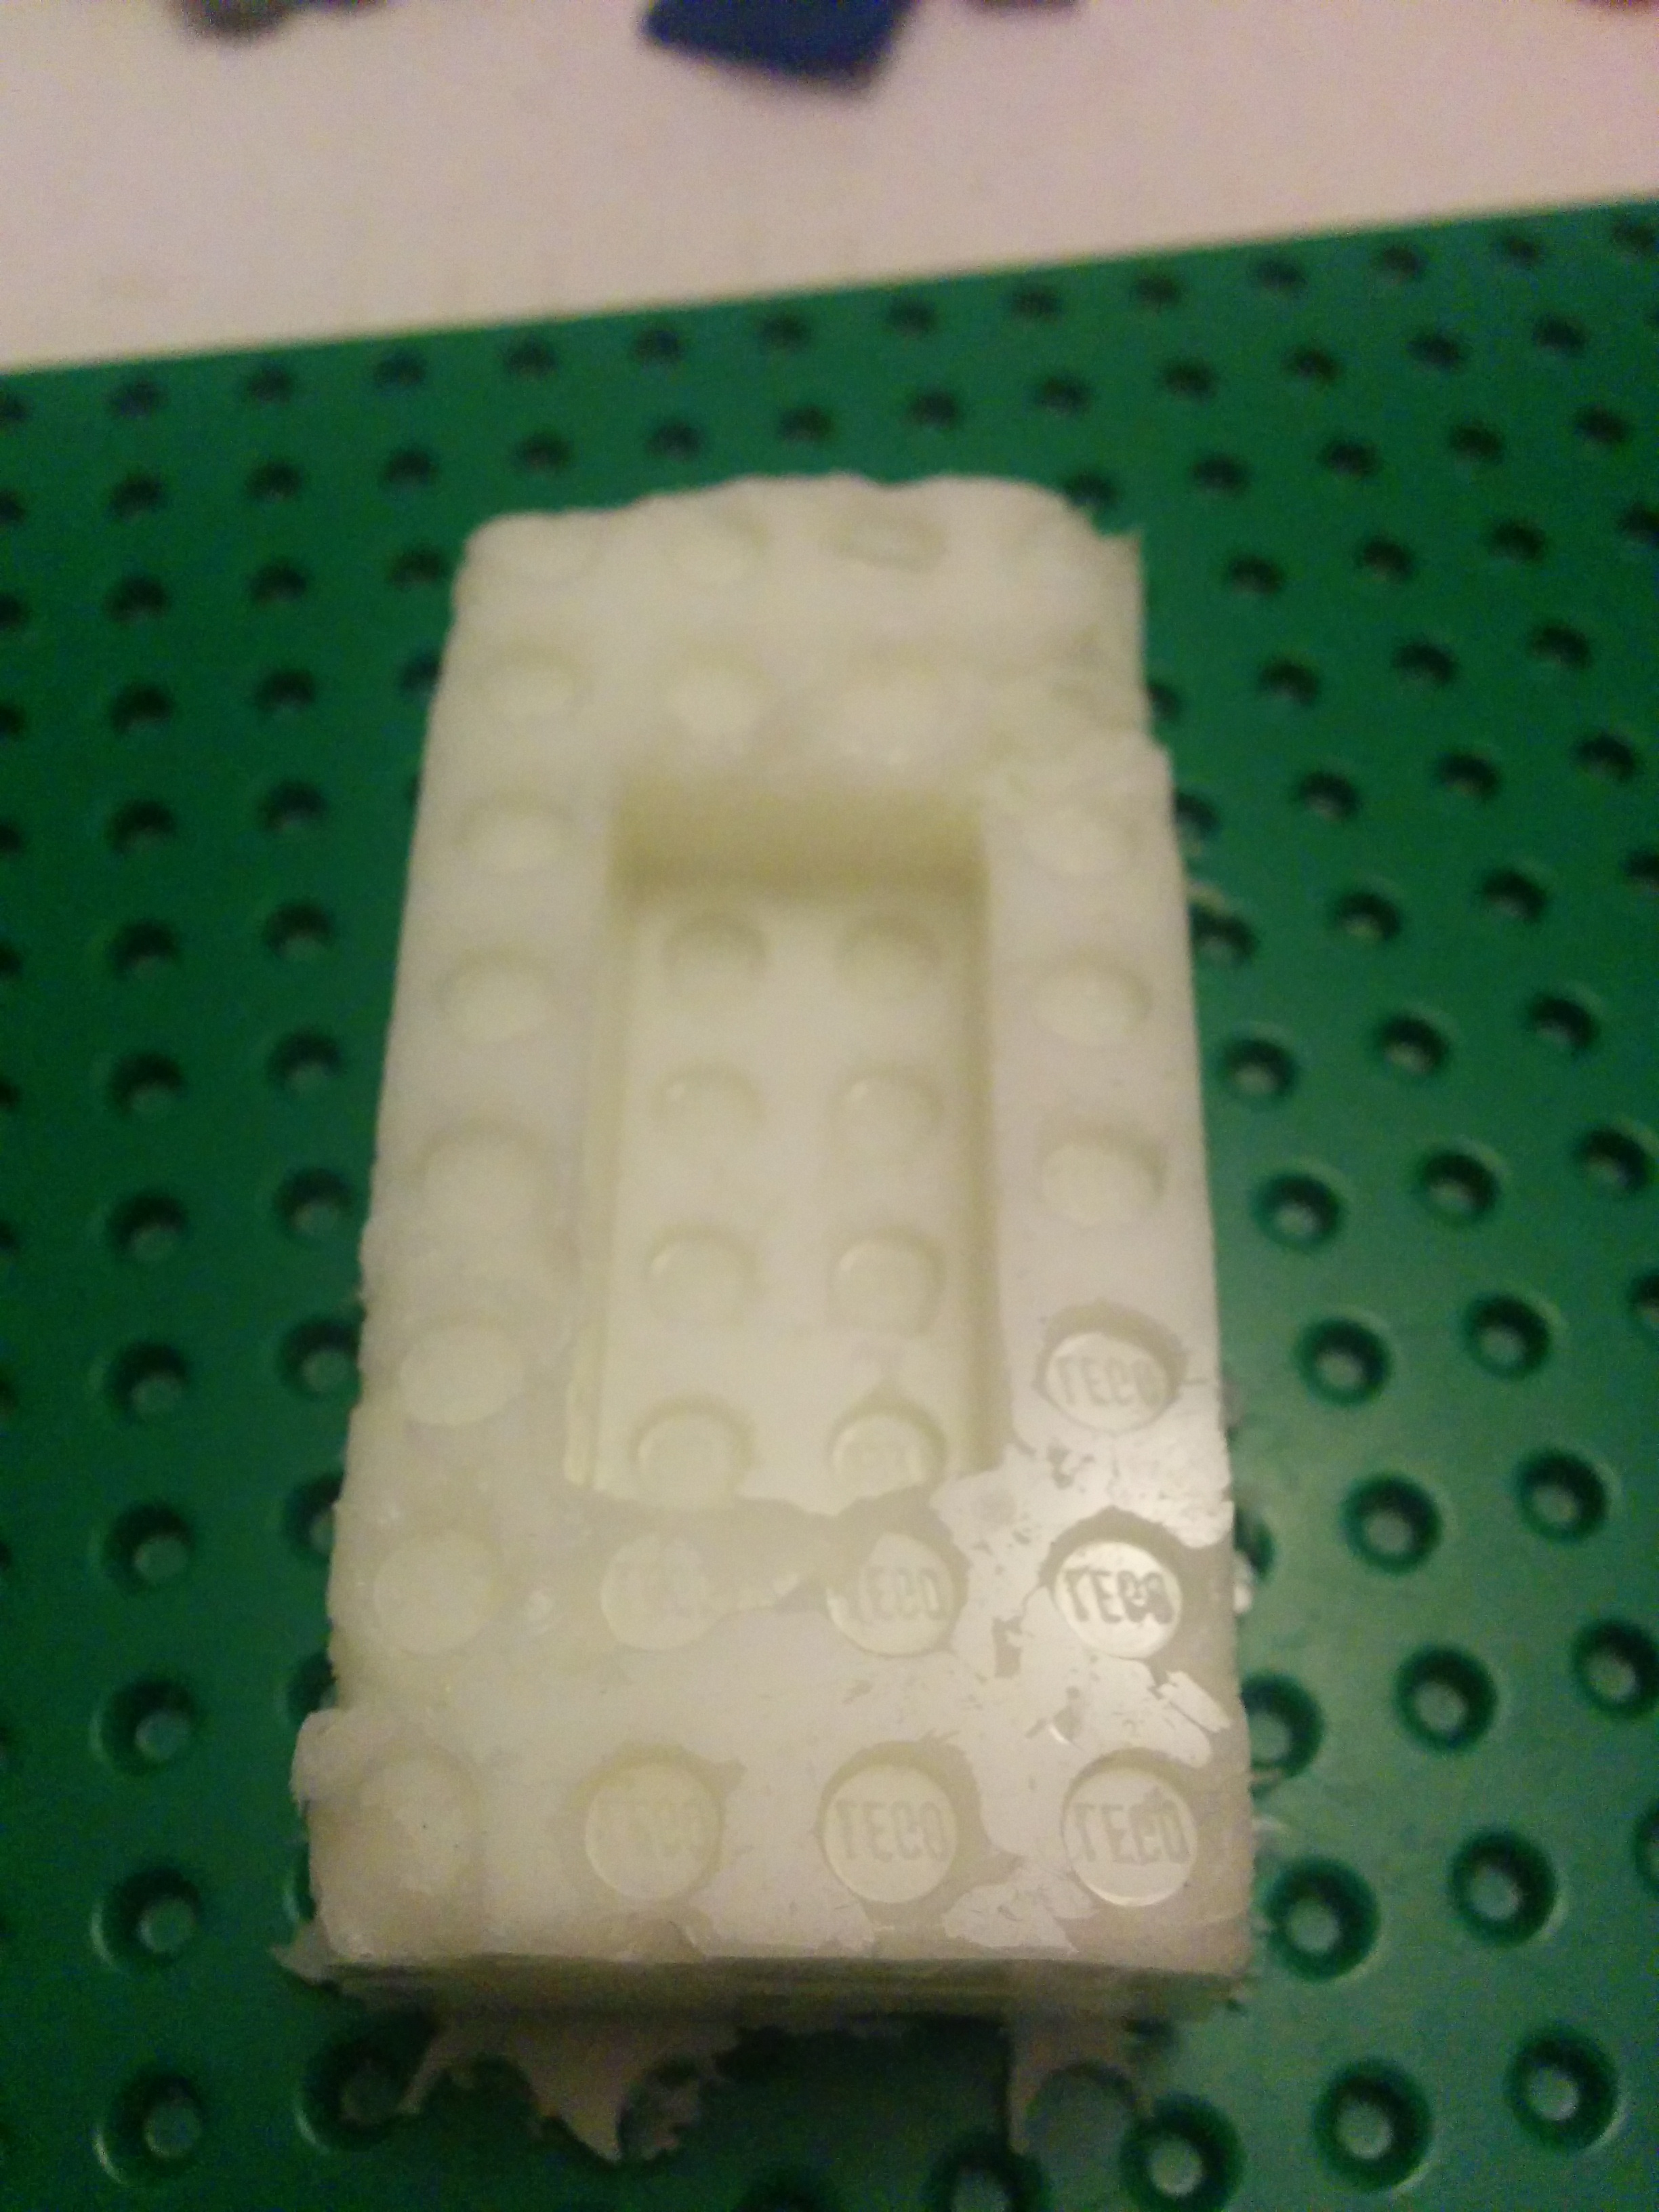
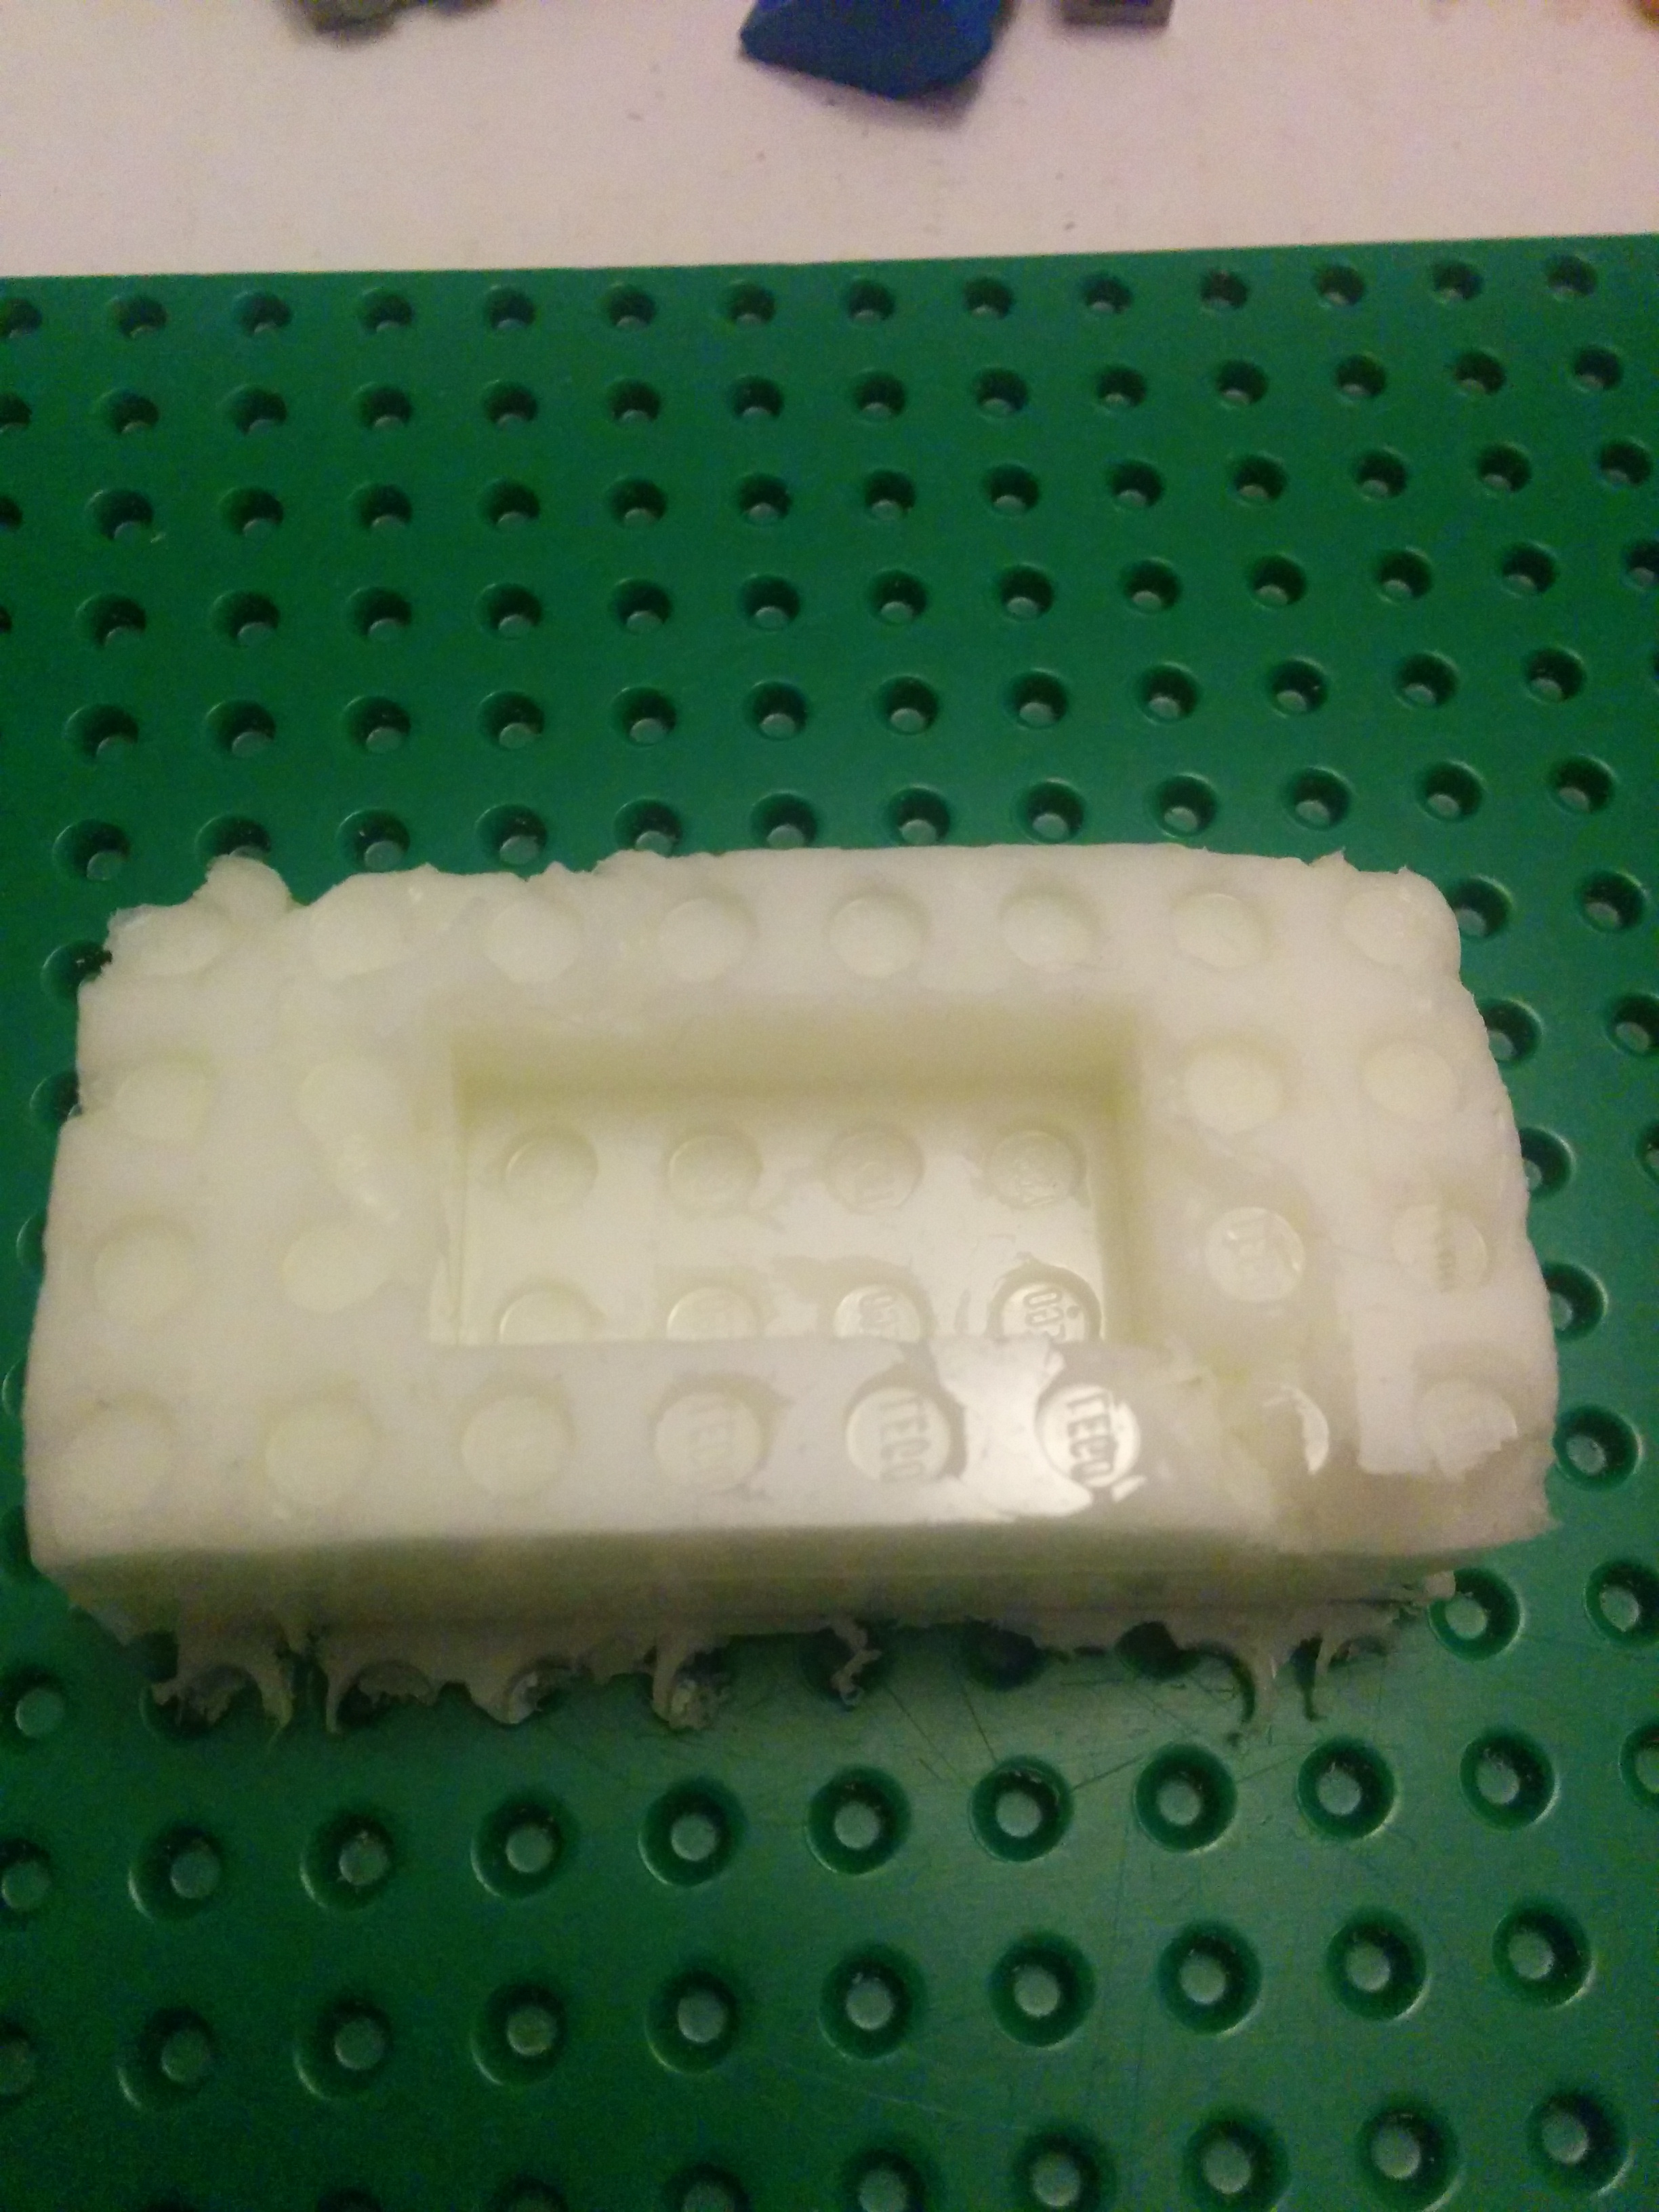
I was pretty happy with it. Some loss around the side walls and some loss of definition on some of the studs but overall a decent first attempt. I used a wooden coffee stirrer stick to place the oogoo in place and as it is about 75% of the width of a single Lego block, it worked a charm. It also had the flexibility to act in a spatula type fashion to spread out the oogoo. I did however put in a little too much cornstarch for the first batch and made too much so that by the time I was putting the last of the batch in place, it was already going off quite substantially and I had to dump the last quarter of the batch. This negatively affected its ability to conform to the studs on the top of the block and was the reason I believe that the casting was not so well defined around the studs.
Having made the practise casting, I went ahead with the real thing using food safe silicone and a few lessons learned from the first go.
- Use a bit less cornflour to lengthen the working time
- Make smaller batches to ensure it remains workable for the duration of the moulding
- Take care around the studs and where possible use the first couple of applications from the batch on a stud section to take advantage of the pliability before the curing begins
- Use multiple smaller bricks instead of long bricks for the outside walls. It makes it much easier to remove them when releasing the mould.
My mould was made from my old Lego bricks that I had when I was a kid. It was really cool to reconnect with all the memories, especially with some of the more unique bricks that I individually remembered: Space “computer” bricks, turbines from an aircraft, Robin Hood etc.
Check out this really cool interpretation of the computer bricks
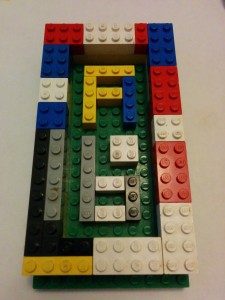
My friends daughter was going to be 6 years old and her name begins with an E so I made those in Lego aswell. I also thought it would be cool to make some of the other shapes for some variety. (now thinking about it, I wish I made some of the circular bricks aswell….maybe next time!)
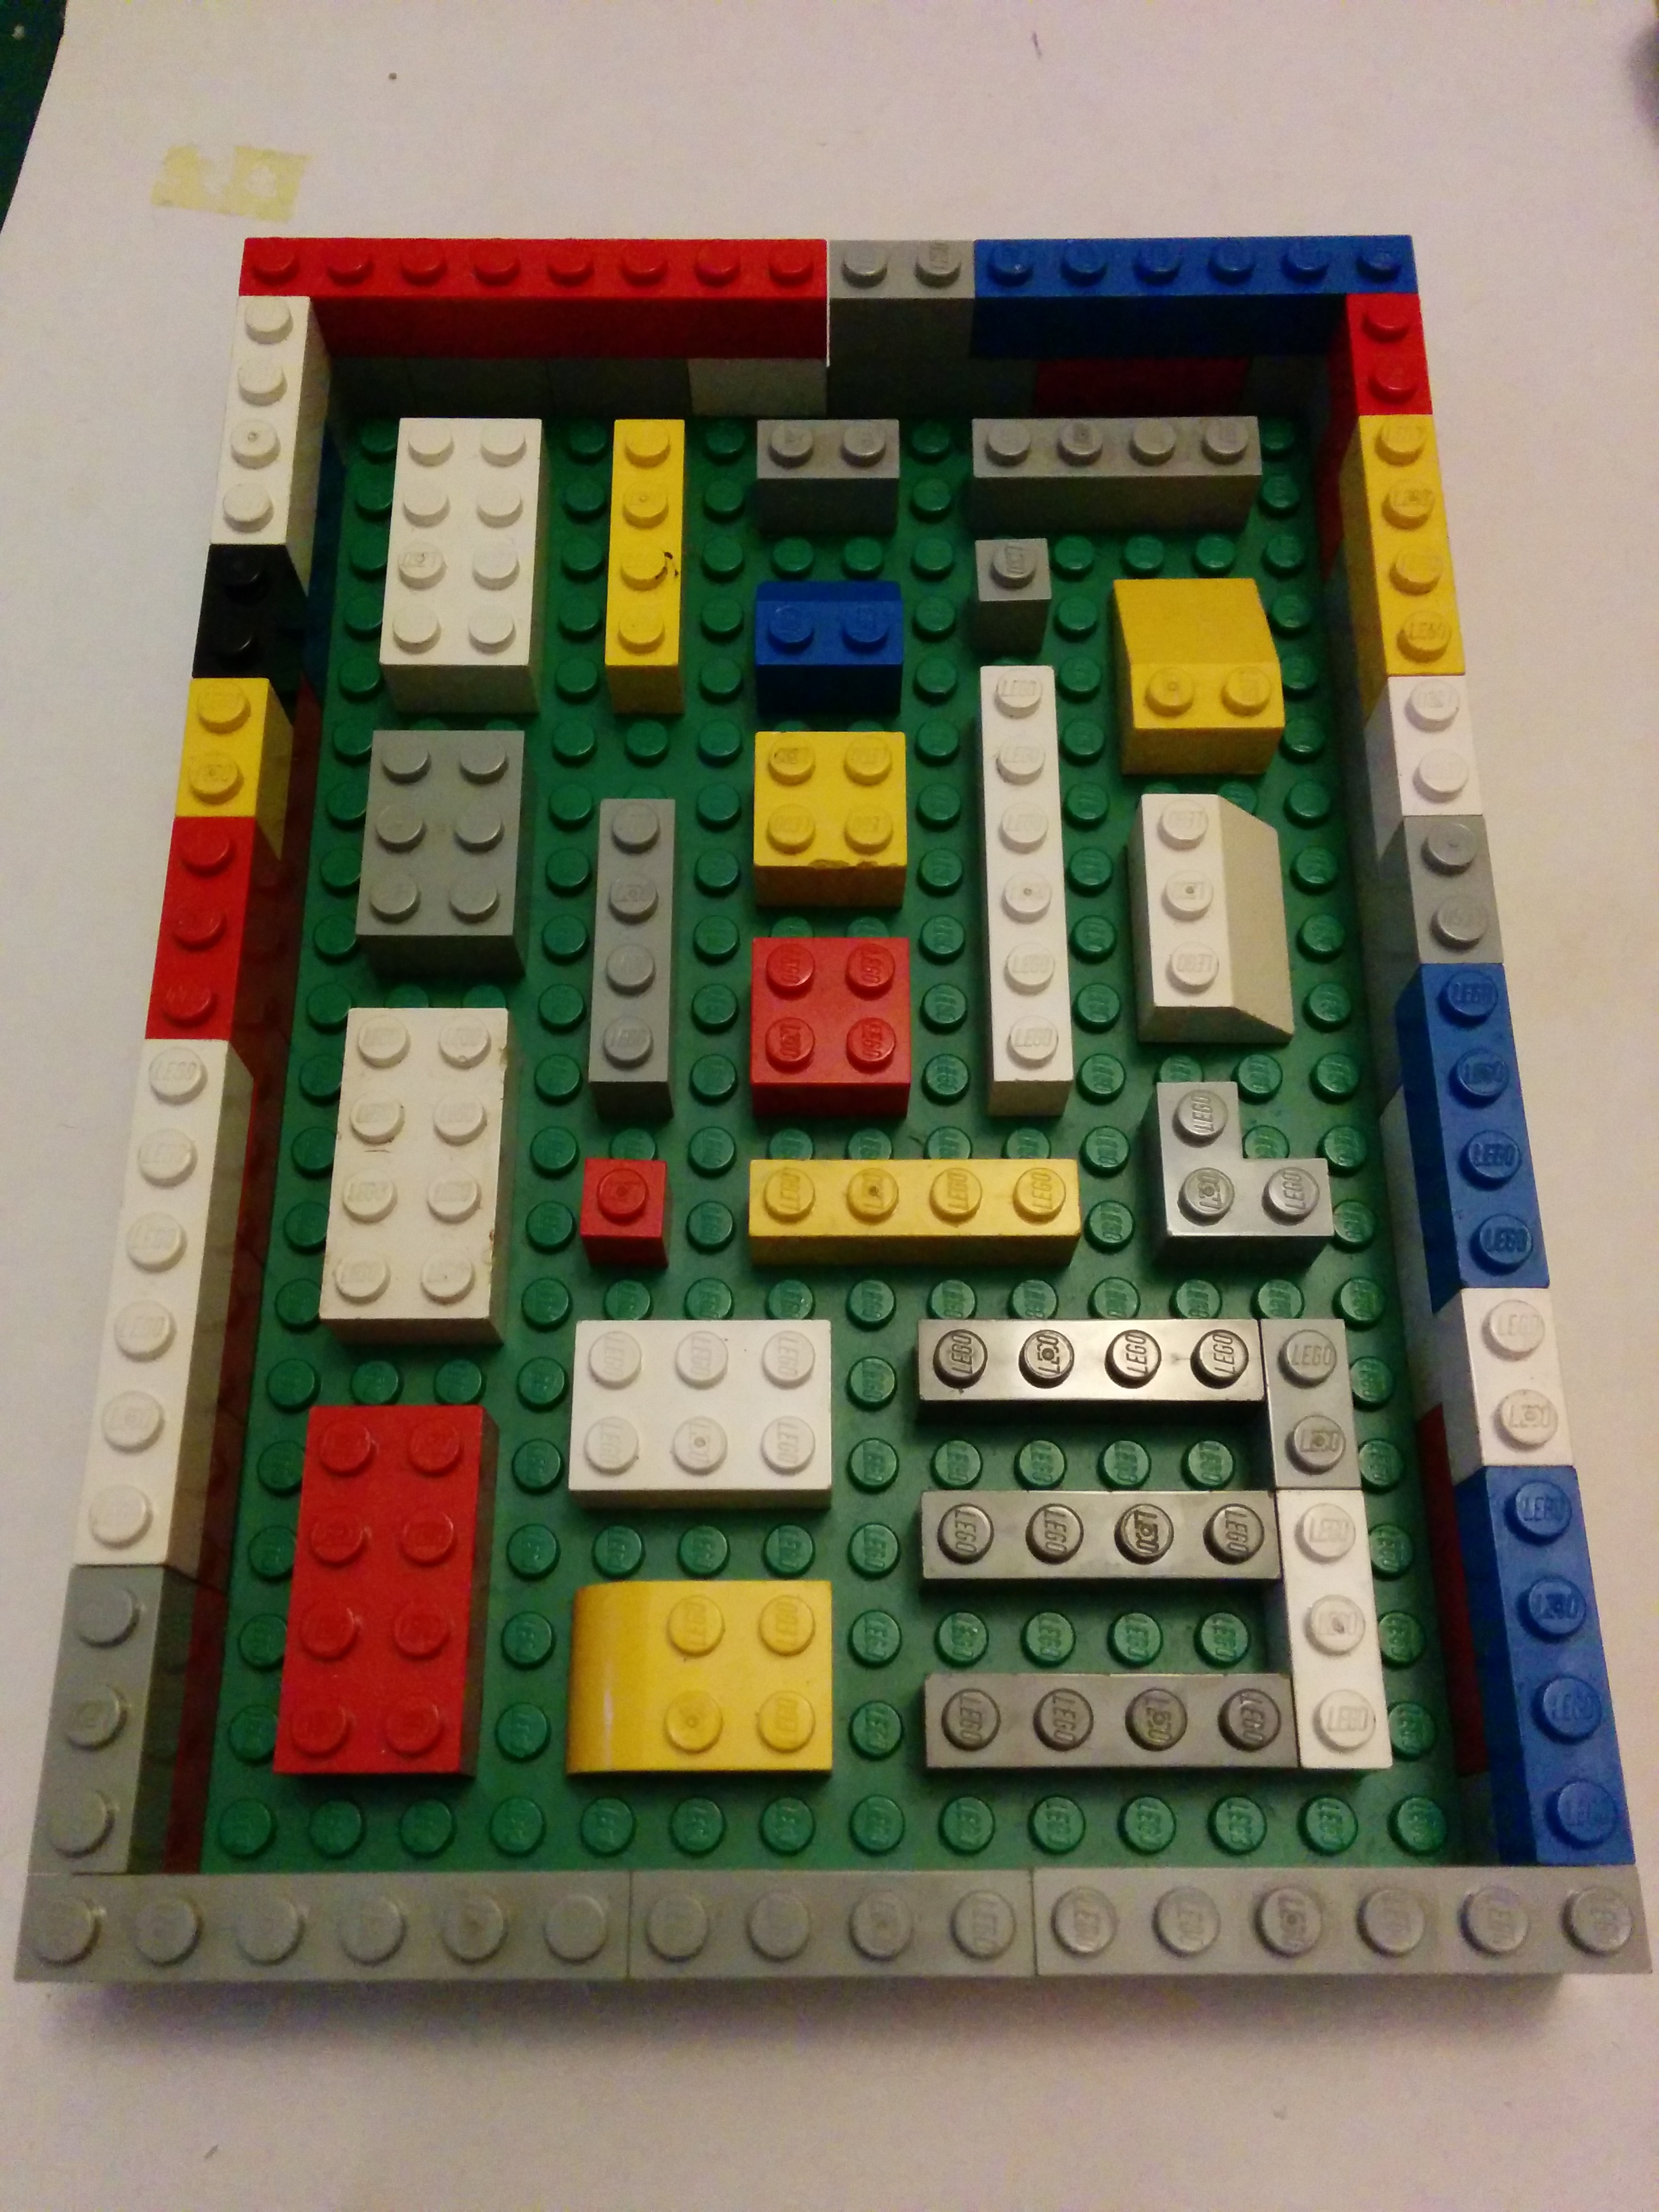
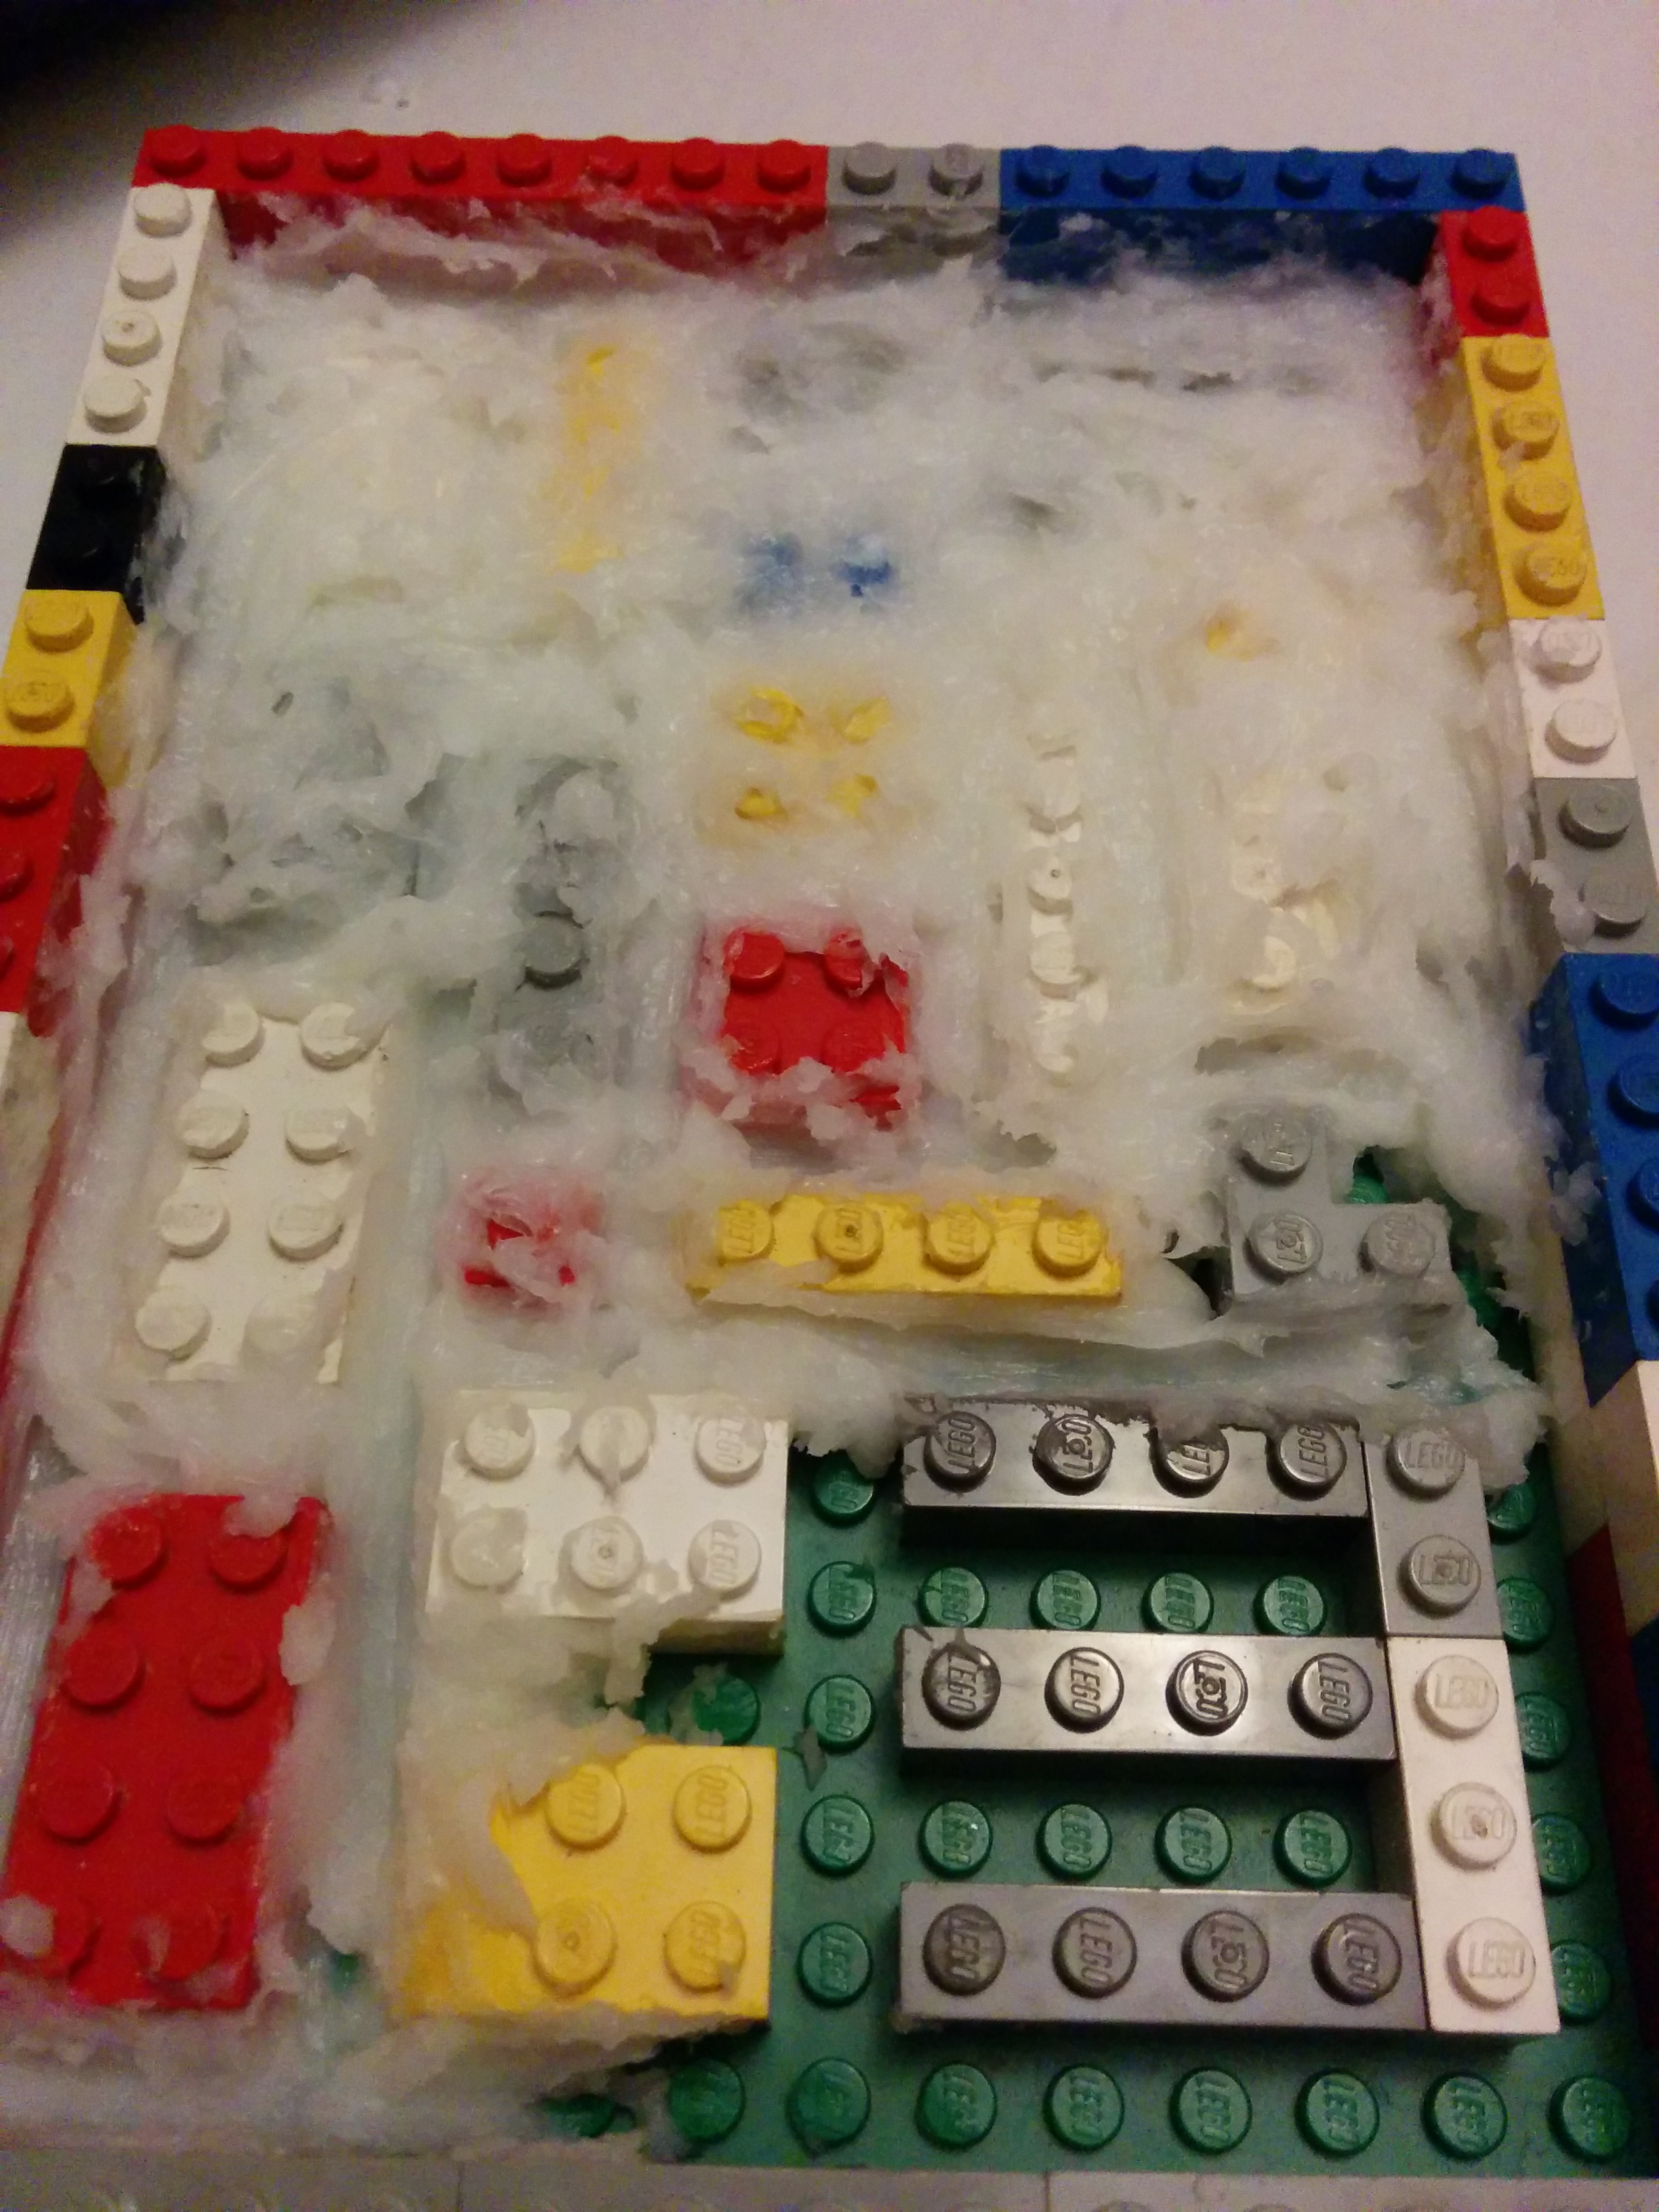
The mould is shown upside down so E appears backwards
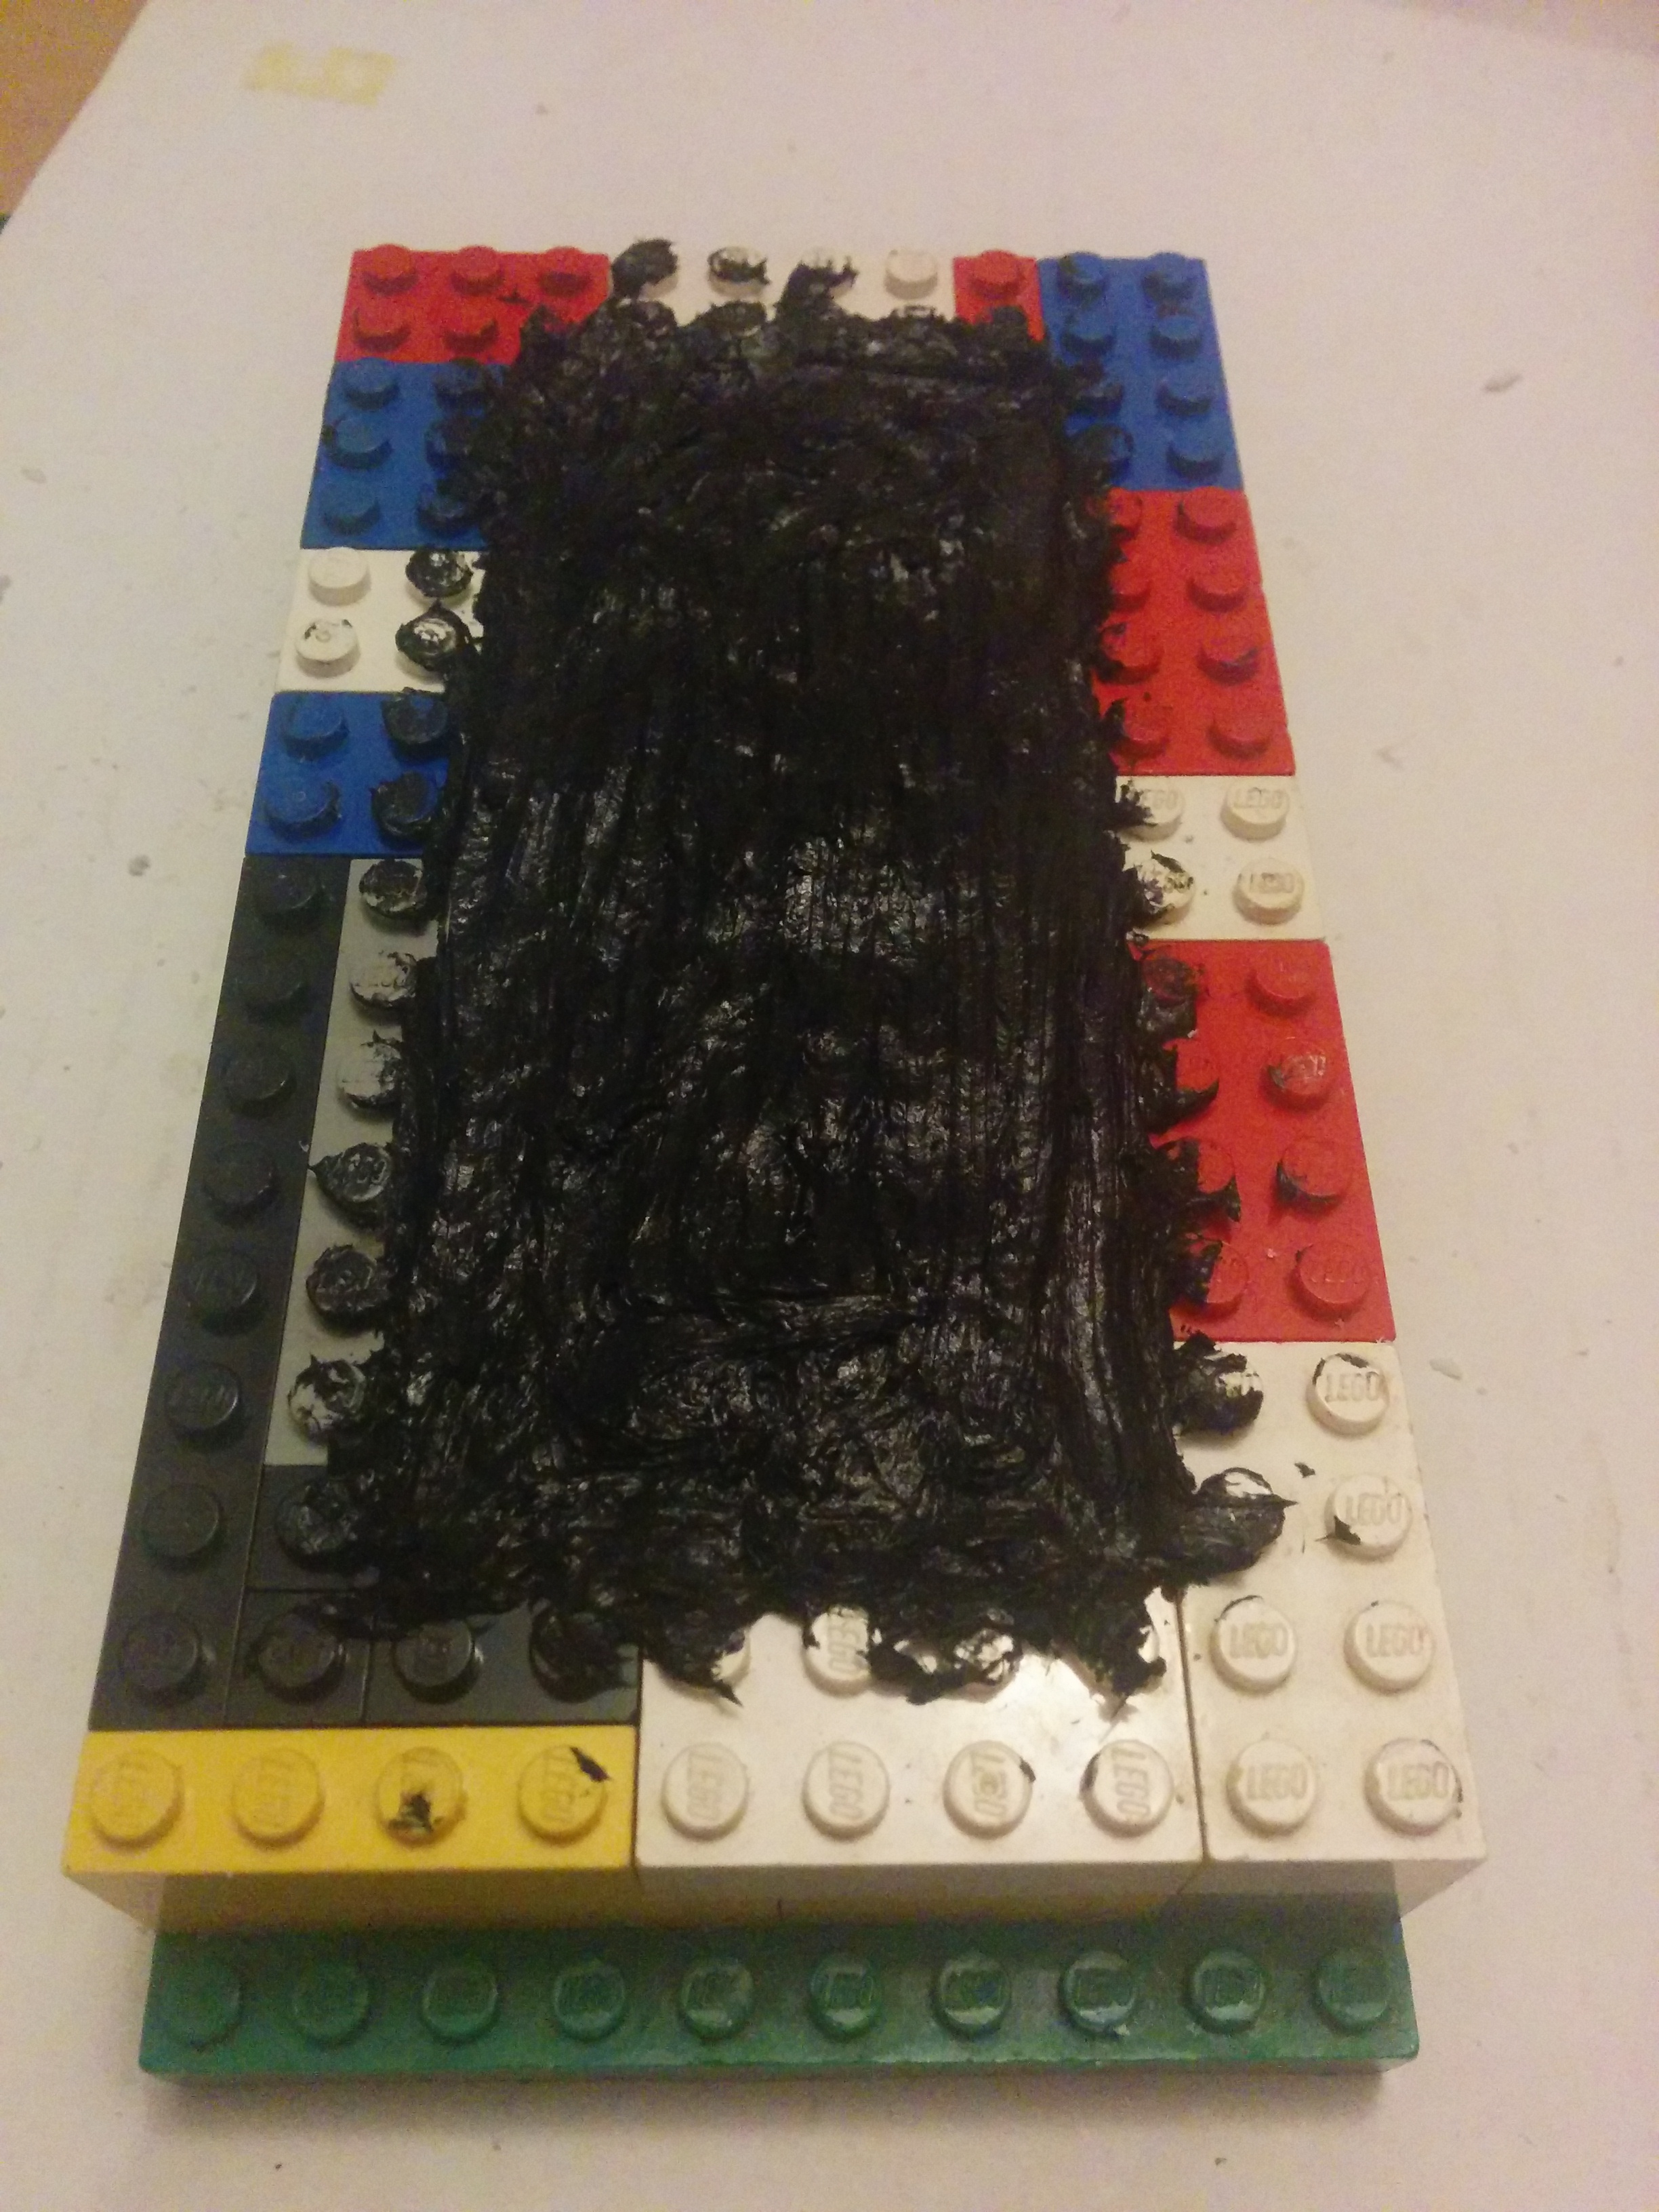
I mixed up the oogoo and began moulding. I started in one corner and worked outwards, building up the layers slowly, taking care to pay attention to the area around the studs. As before, I used the wooden coffee stirrer stick which worked very well. I used almost the full tube of silicone to make the first mould and as you can see from the pics, it was a clear silicone so I got a bit of a surprise when the second tube was a black silicone. Not an issue really but the clear is better to judge the mixing of the cornflour. As I could no longer judge from the colour, when I thought it was mixed, I just gave it a couple of more stirs to make sure.
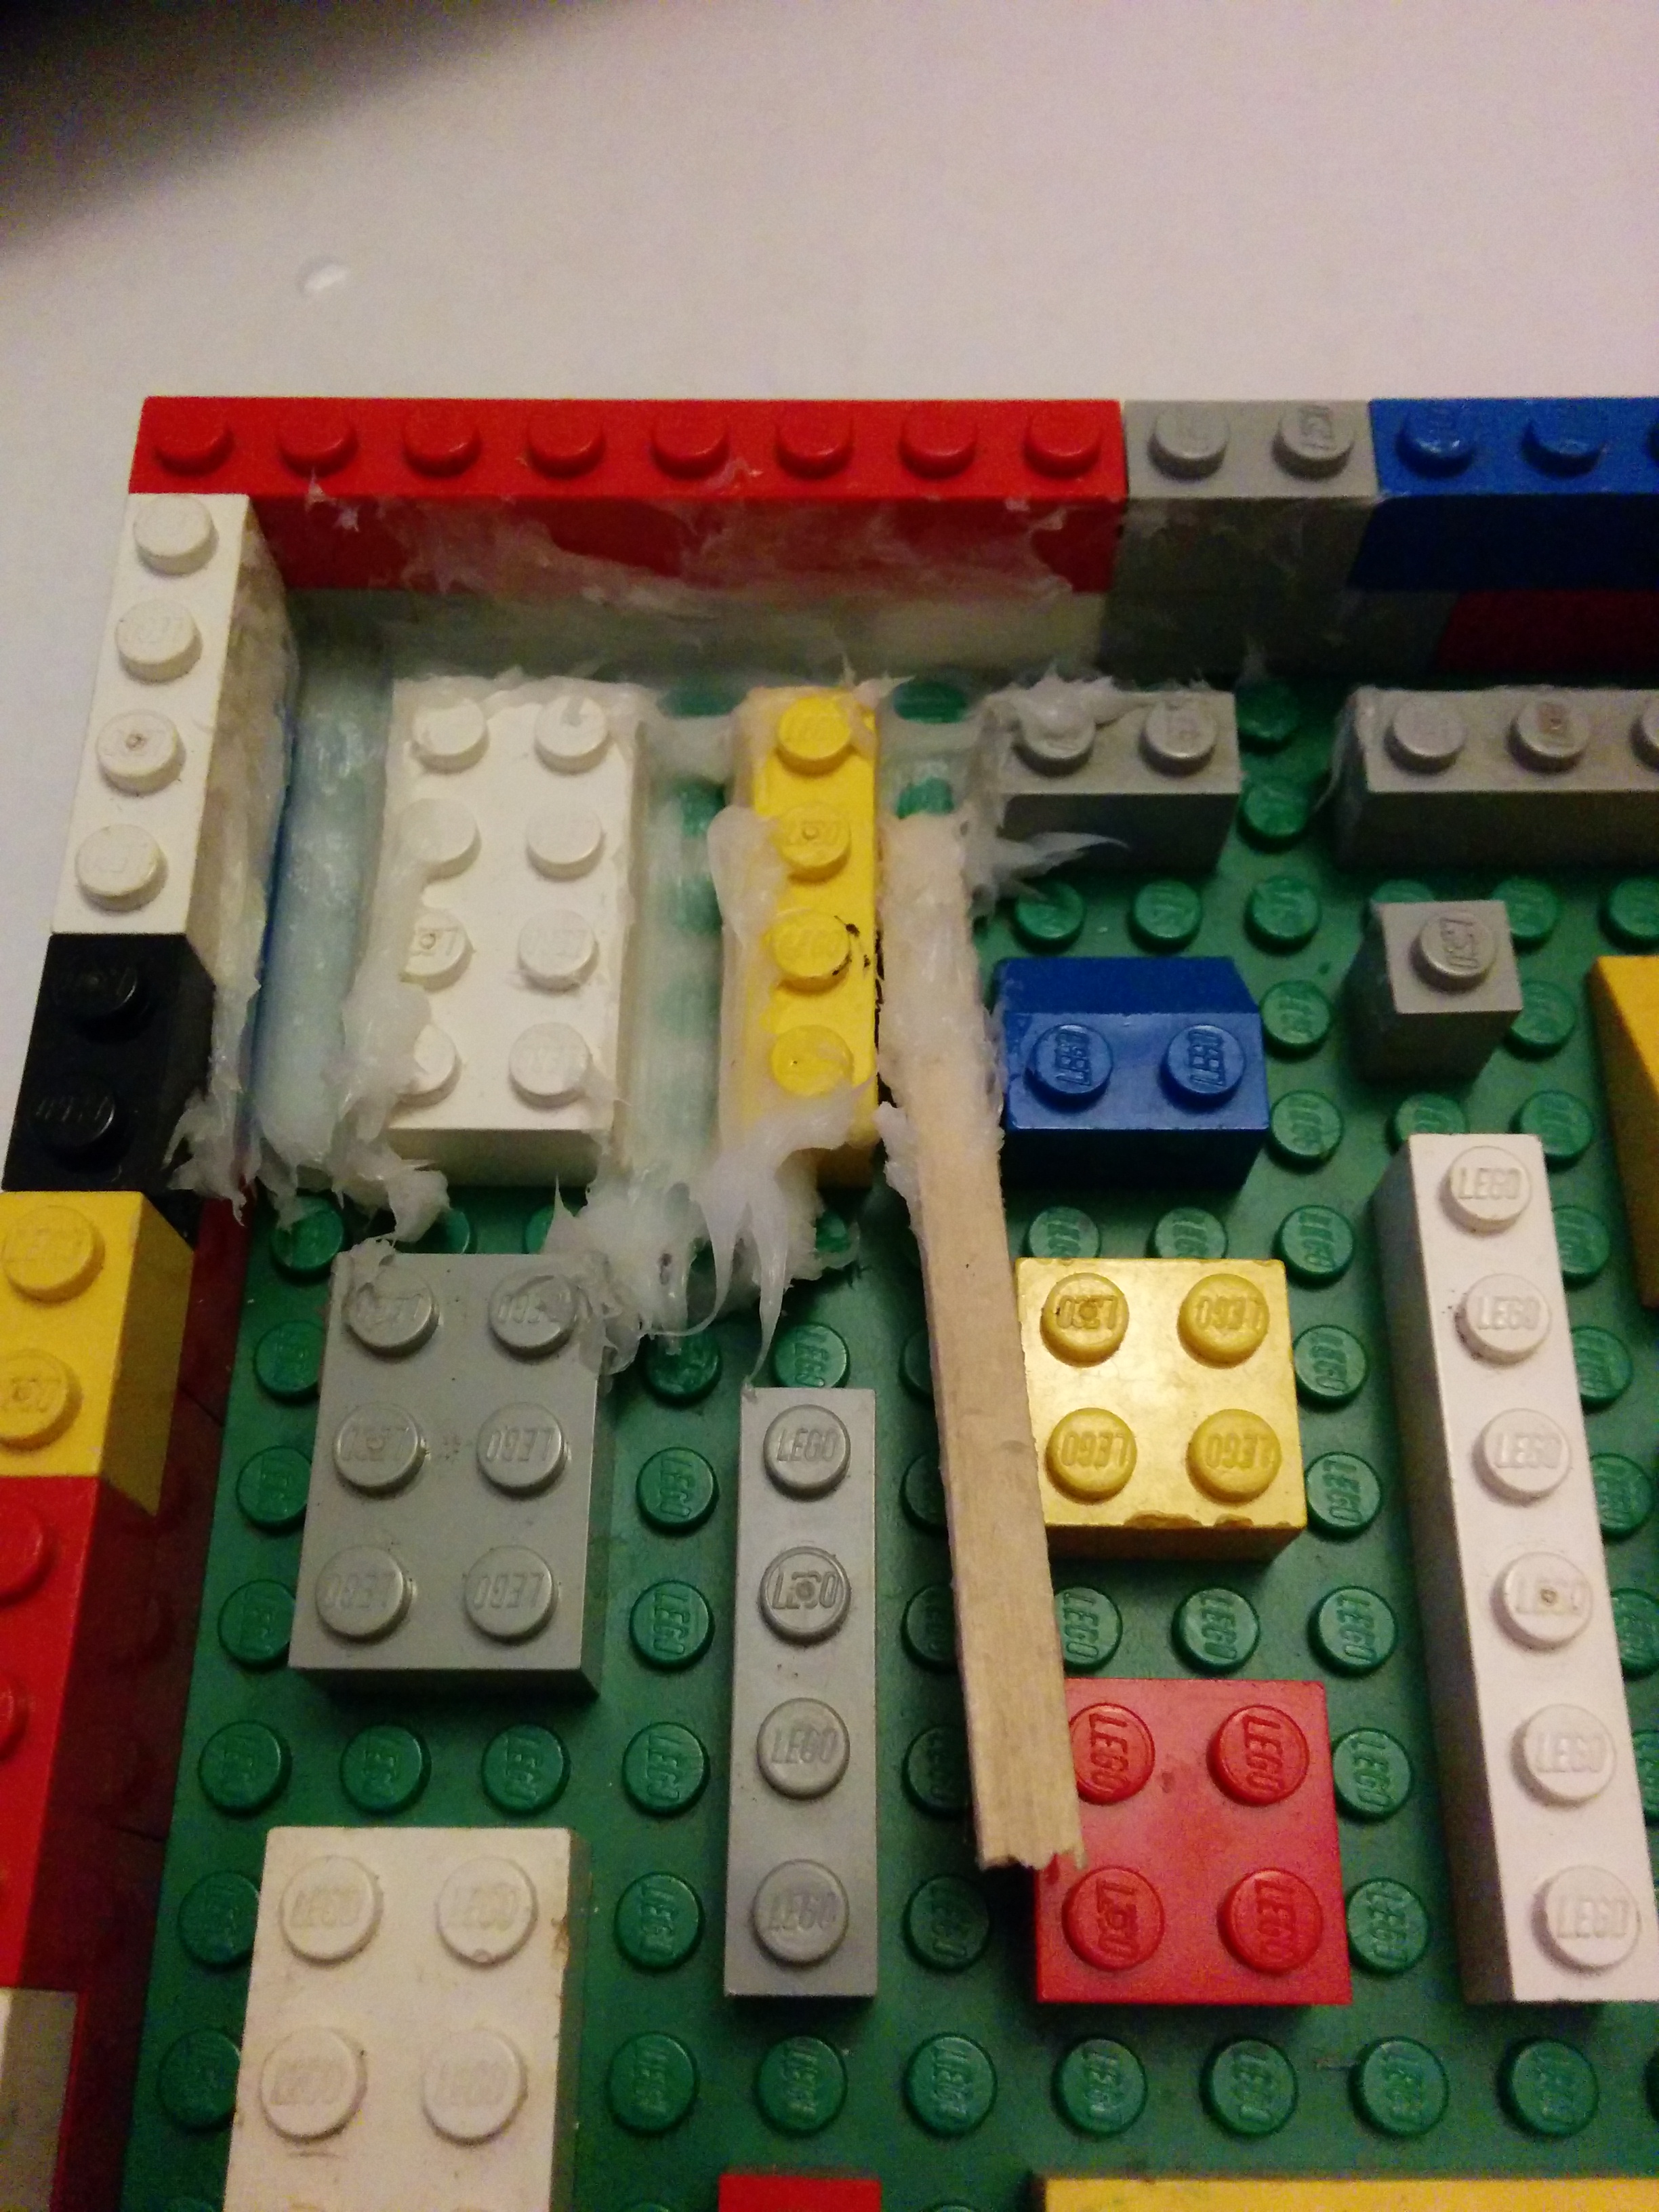
The second mould was a bit smaller so was a bit faster to make and I was getting better at judging the batch size. There is no issue in making multiple batches as the oogoo sticks to itself very well. Once done, I put them aside and left to set overnight.
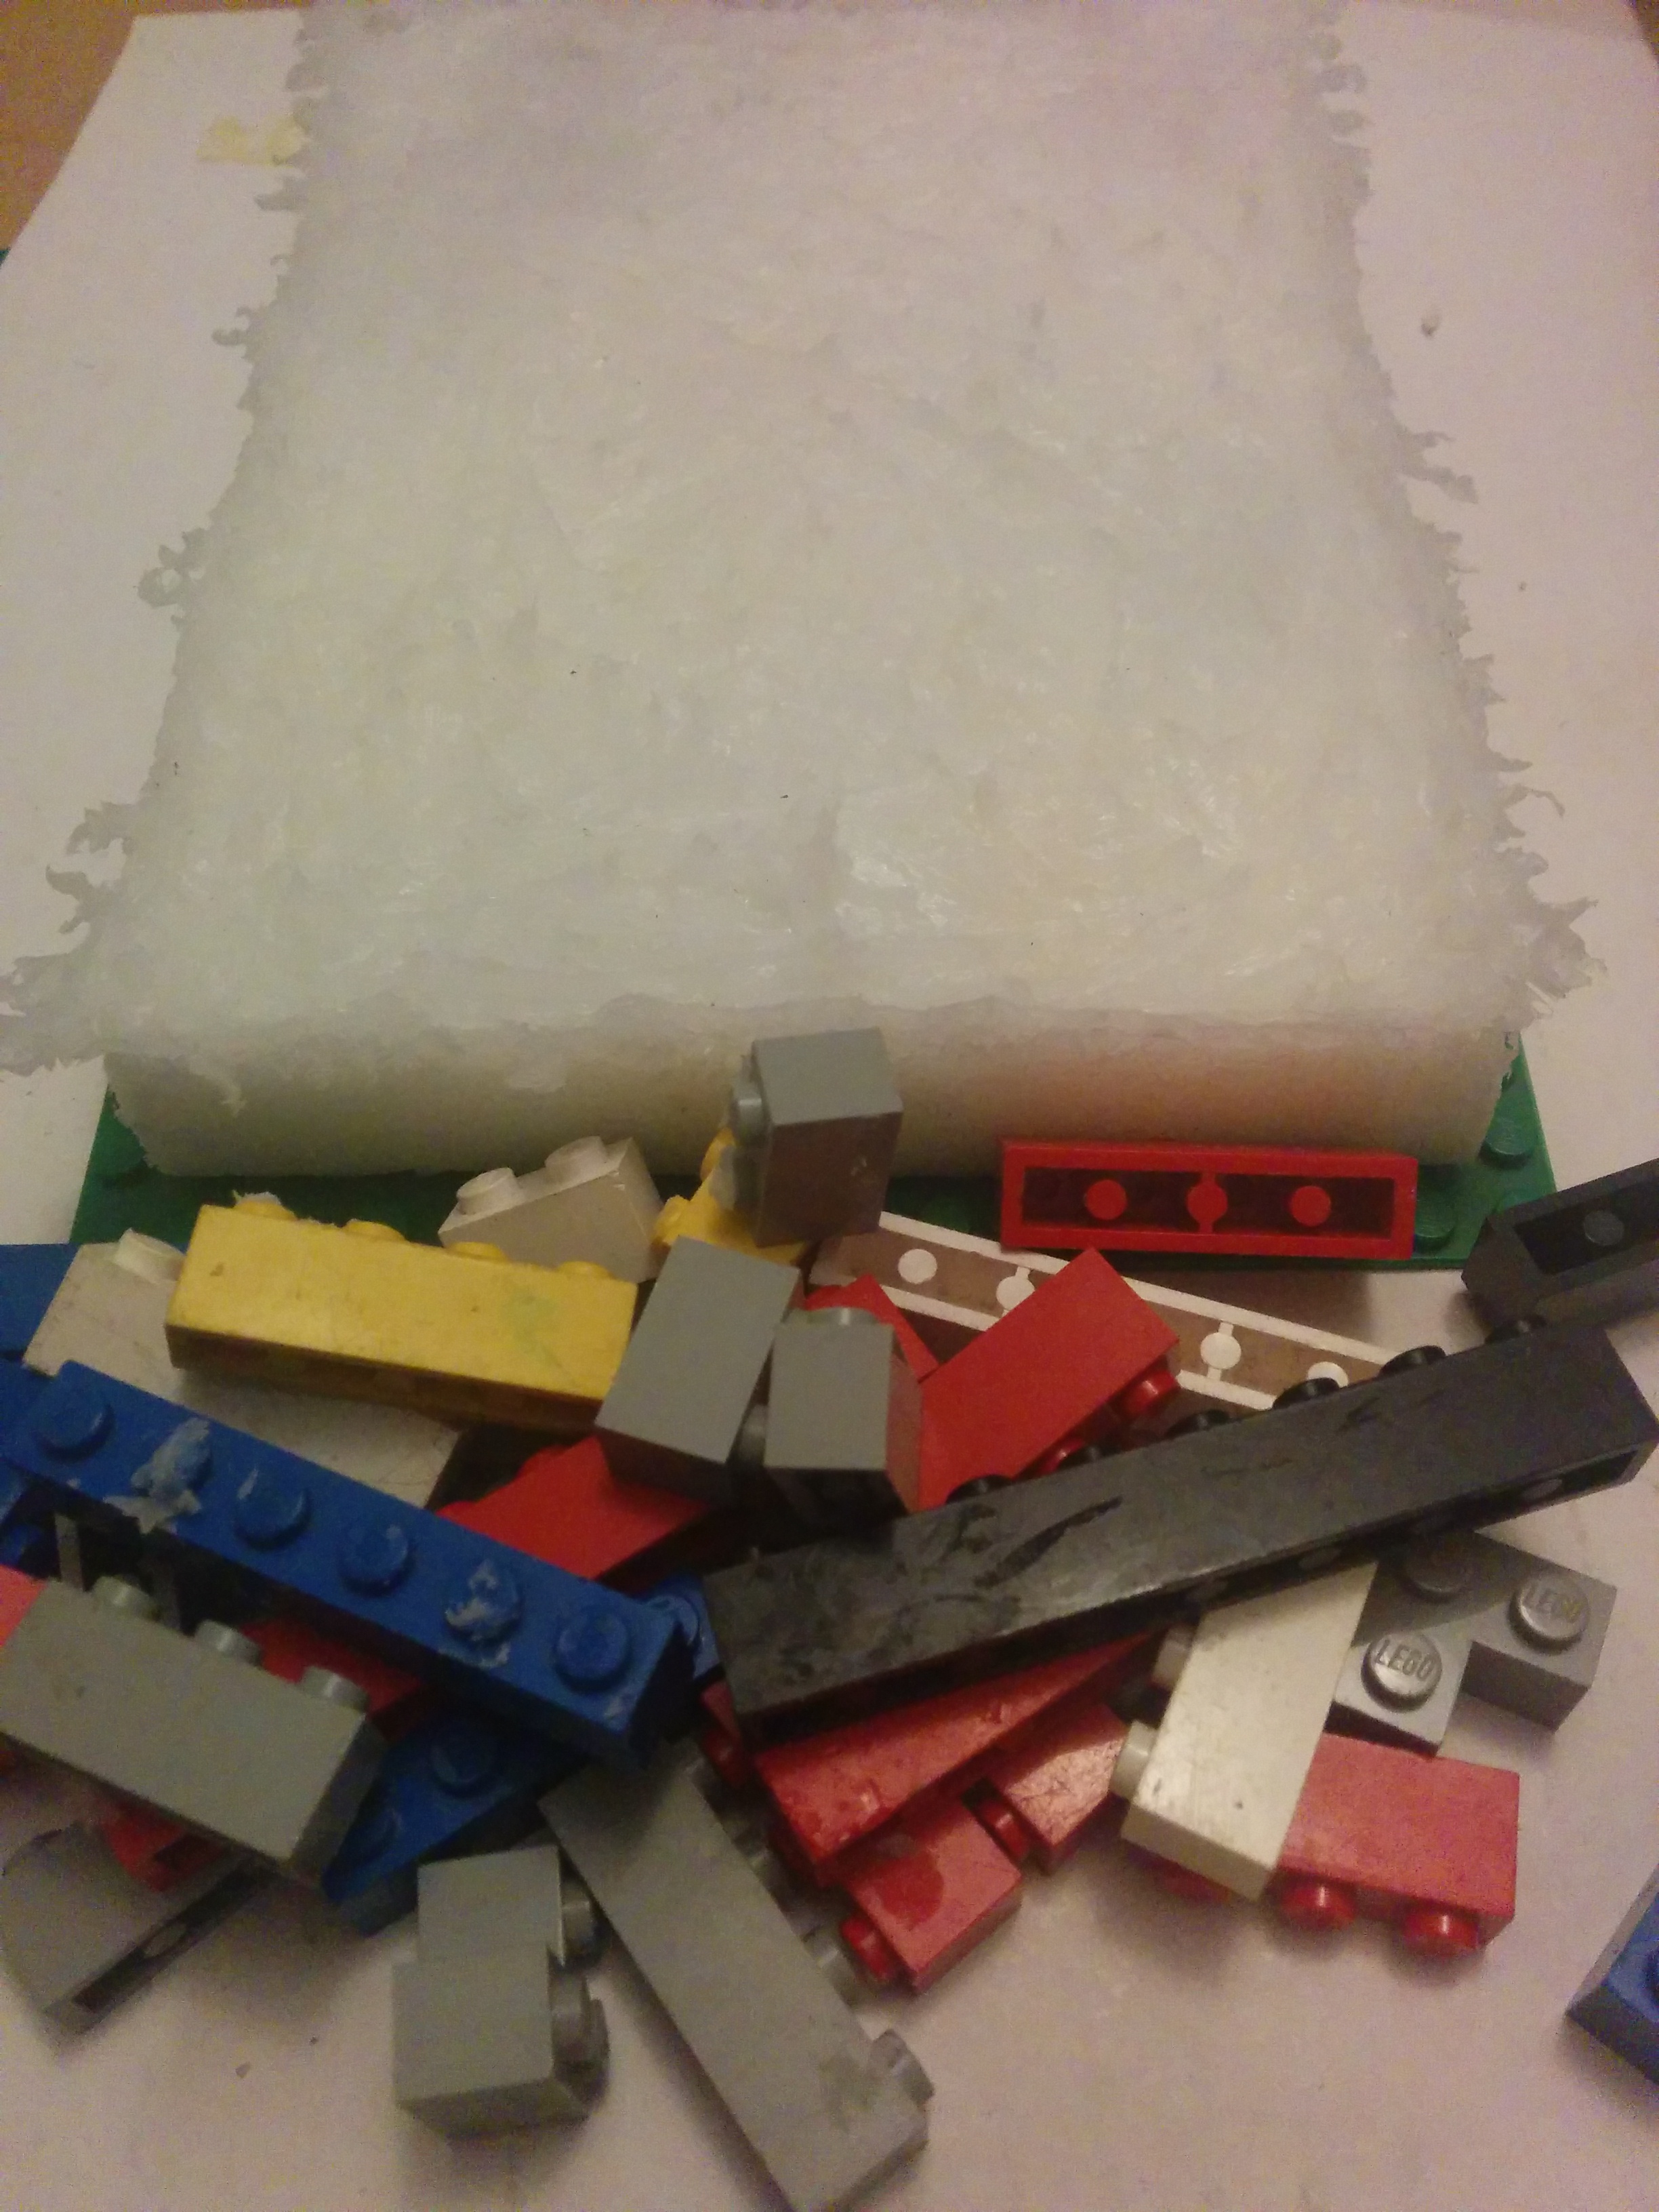
Next morning, I began the process of removing the retaining walls to speed up the curing process. The curing in most silicones is achieved via moisture being absorbed by the silicone. By removing the retaining walls and base plate, I would be exposing a greater surface area to pull moisture from the air.
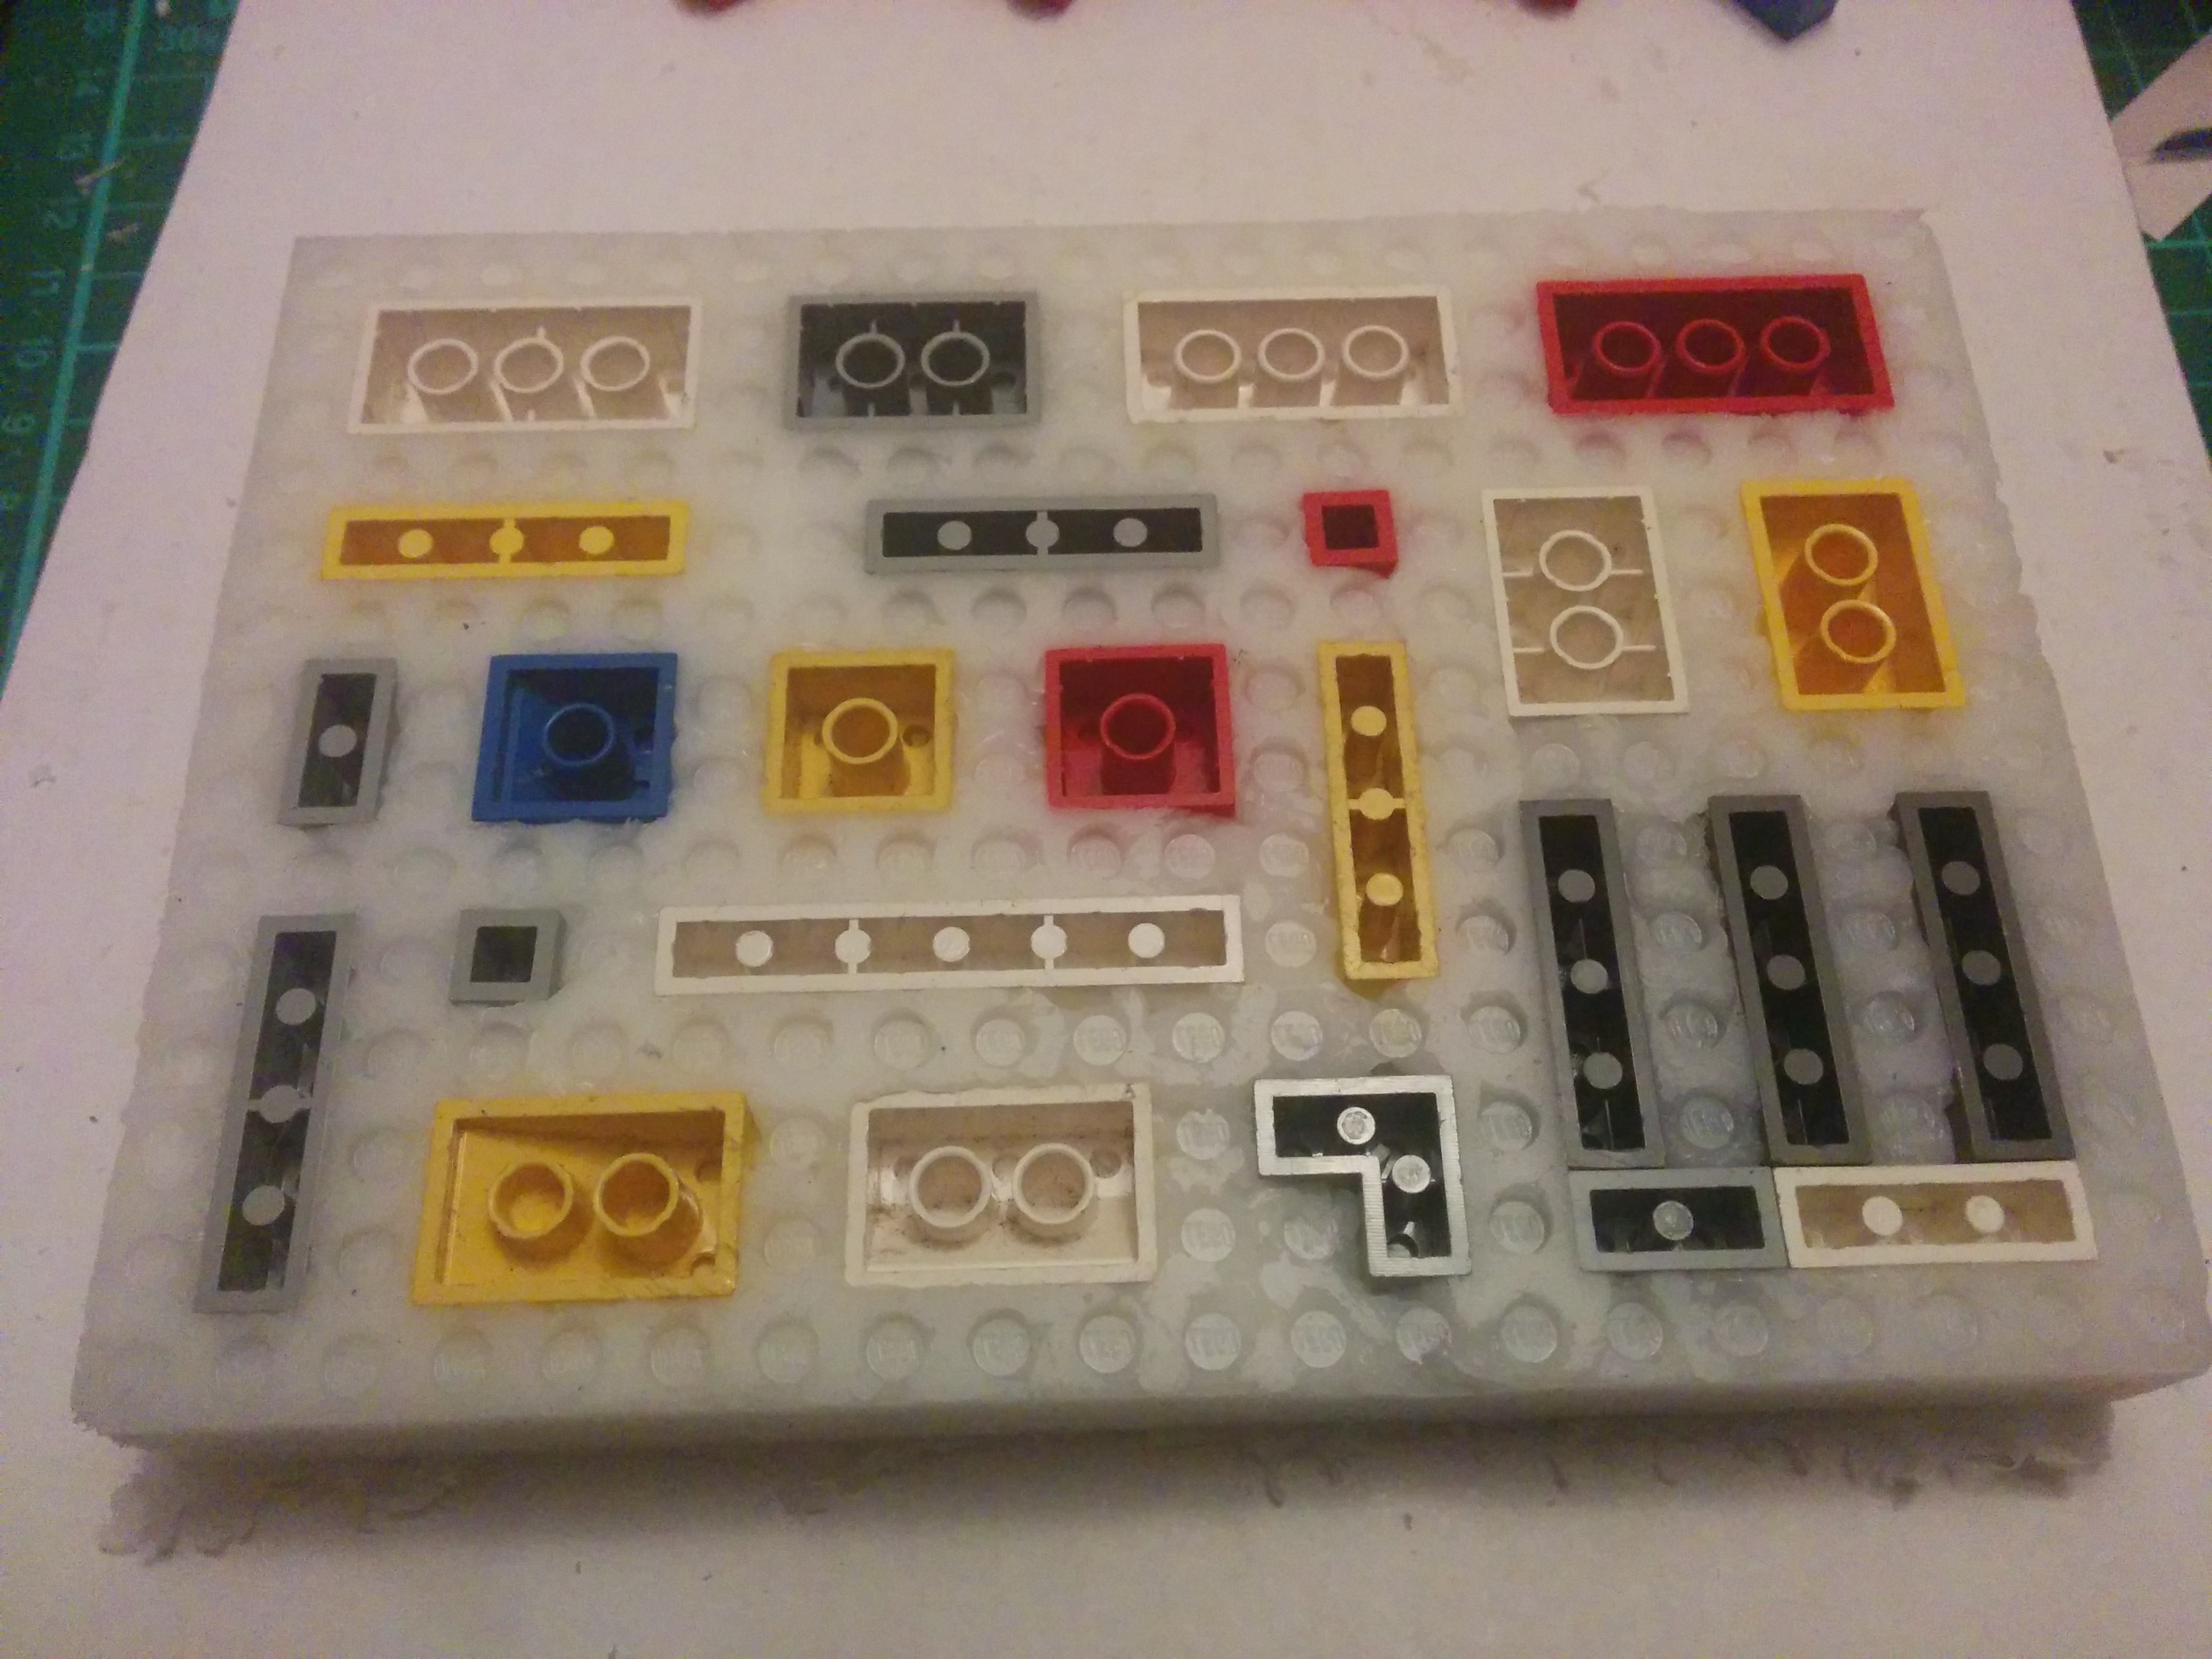
It was then I spotted the difference in colour around the “E”. I’m not sure was this because it was the last of the silicone in the tube or if it was the amount of cornflour I used for that batch but it didn’t seem to be affecting the curing as it had the same level of squidgy-ness as other areas. I’m inclined to think it was the level of cornflour I was using as I had been using progressivly less with each batch. This turned out to have a negative effect when removing the Lego blocks as they were much more difficult to remove from those areas where I had used less cornflour. I had to use the coffee stirrer to persuade the silicone to pull away from the Lego when removing from these areas although there was still no tearing. The areas where I had used more cornflour came away very easily.
Overall I’m pretty happy with how they turned out although if repeating I would make the following changes:
- Make sure to get all clear silicone
- Measure more accurately than two pulls of the caulking gun and a pinch of cornflour!
- Add more cornflour
- Based on further research, add some gelatine to assist with the curing
- Use the more flexible base plate like I did for the larger mould. The stiffer one was harder to remove from the smaller mould.
Still it was all worthwhile! There will be further posts on the making of the jellies themselves 🙂