As you can see from some of the other posts, a lot of my builds are for presents. This one is no different. If you have read the series on the Father Ted inspired tape dispenser, you can guess that this build was for my brother who is a massive Father Ted fan.
He was looking at tedtees.com to choose a birthday present for himself from me, and he came across some phone covers. Unfortunately, they were only for the iPhone and he has a Samsung Galaxy S5 🙁 I looked elsewhere but nowhere else was doing anything like them for non-iPhone users. So I thought to myself, this would be a nice surprise for him if I can rig something up.
The first thing I looked for was a case that had a slot to allow you to insert your own graphics. No joy. So I looked for a clear cover with the idea that he could wedge in a printed piece of paper between it and the phone. As it was clear, the paper would be visible through the case. I found one on ebay, and even better, it had a neon green trim which is his favourite colour since he owned a Ninja.
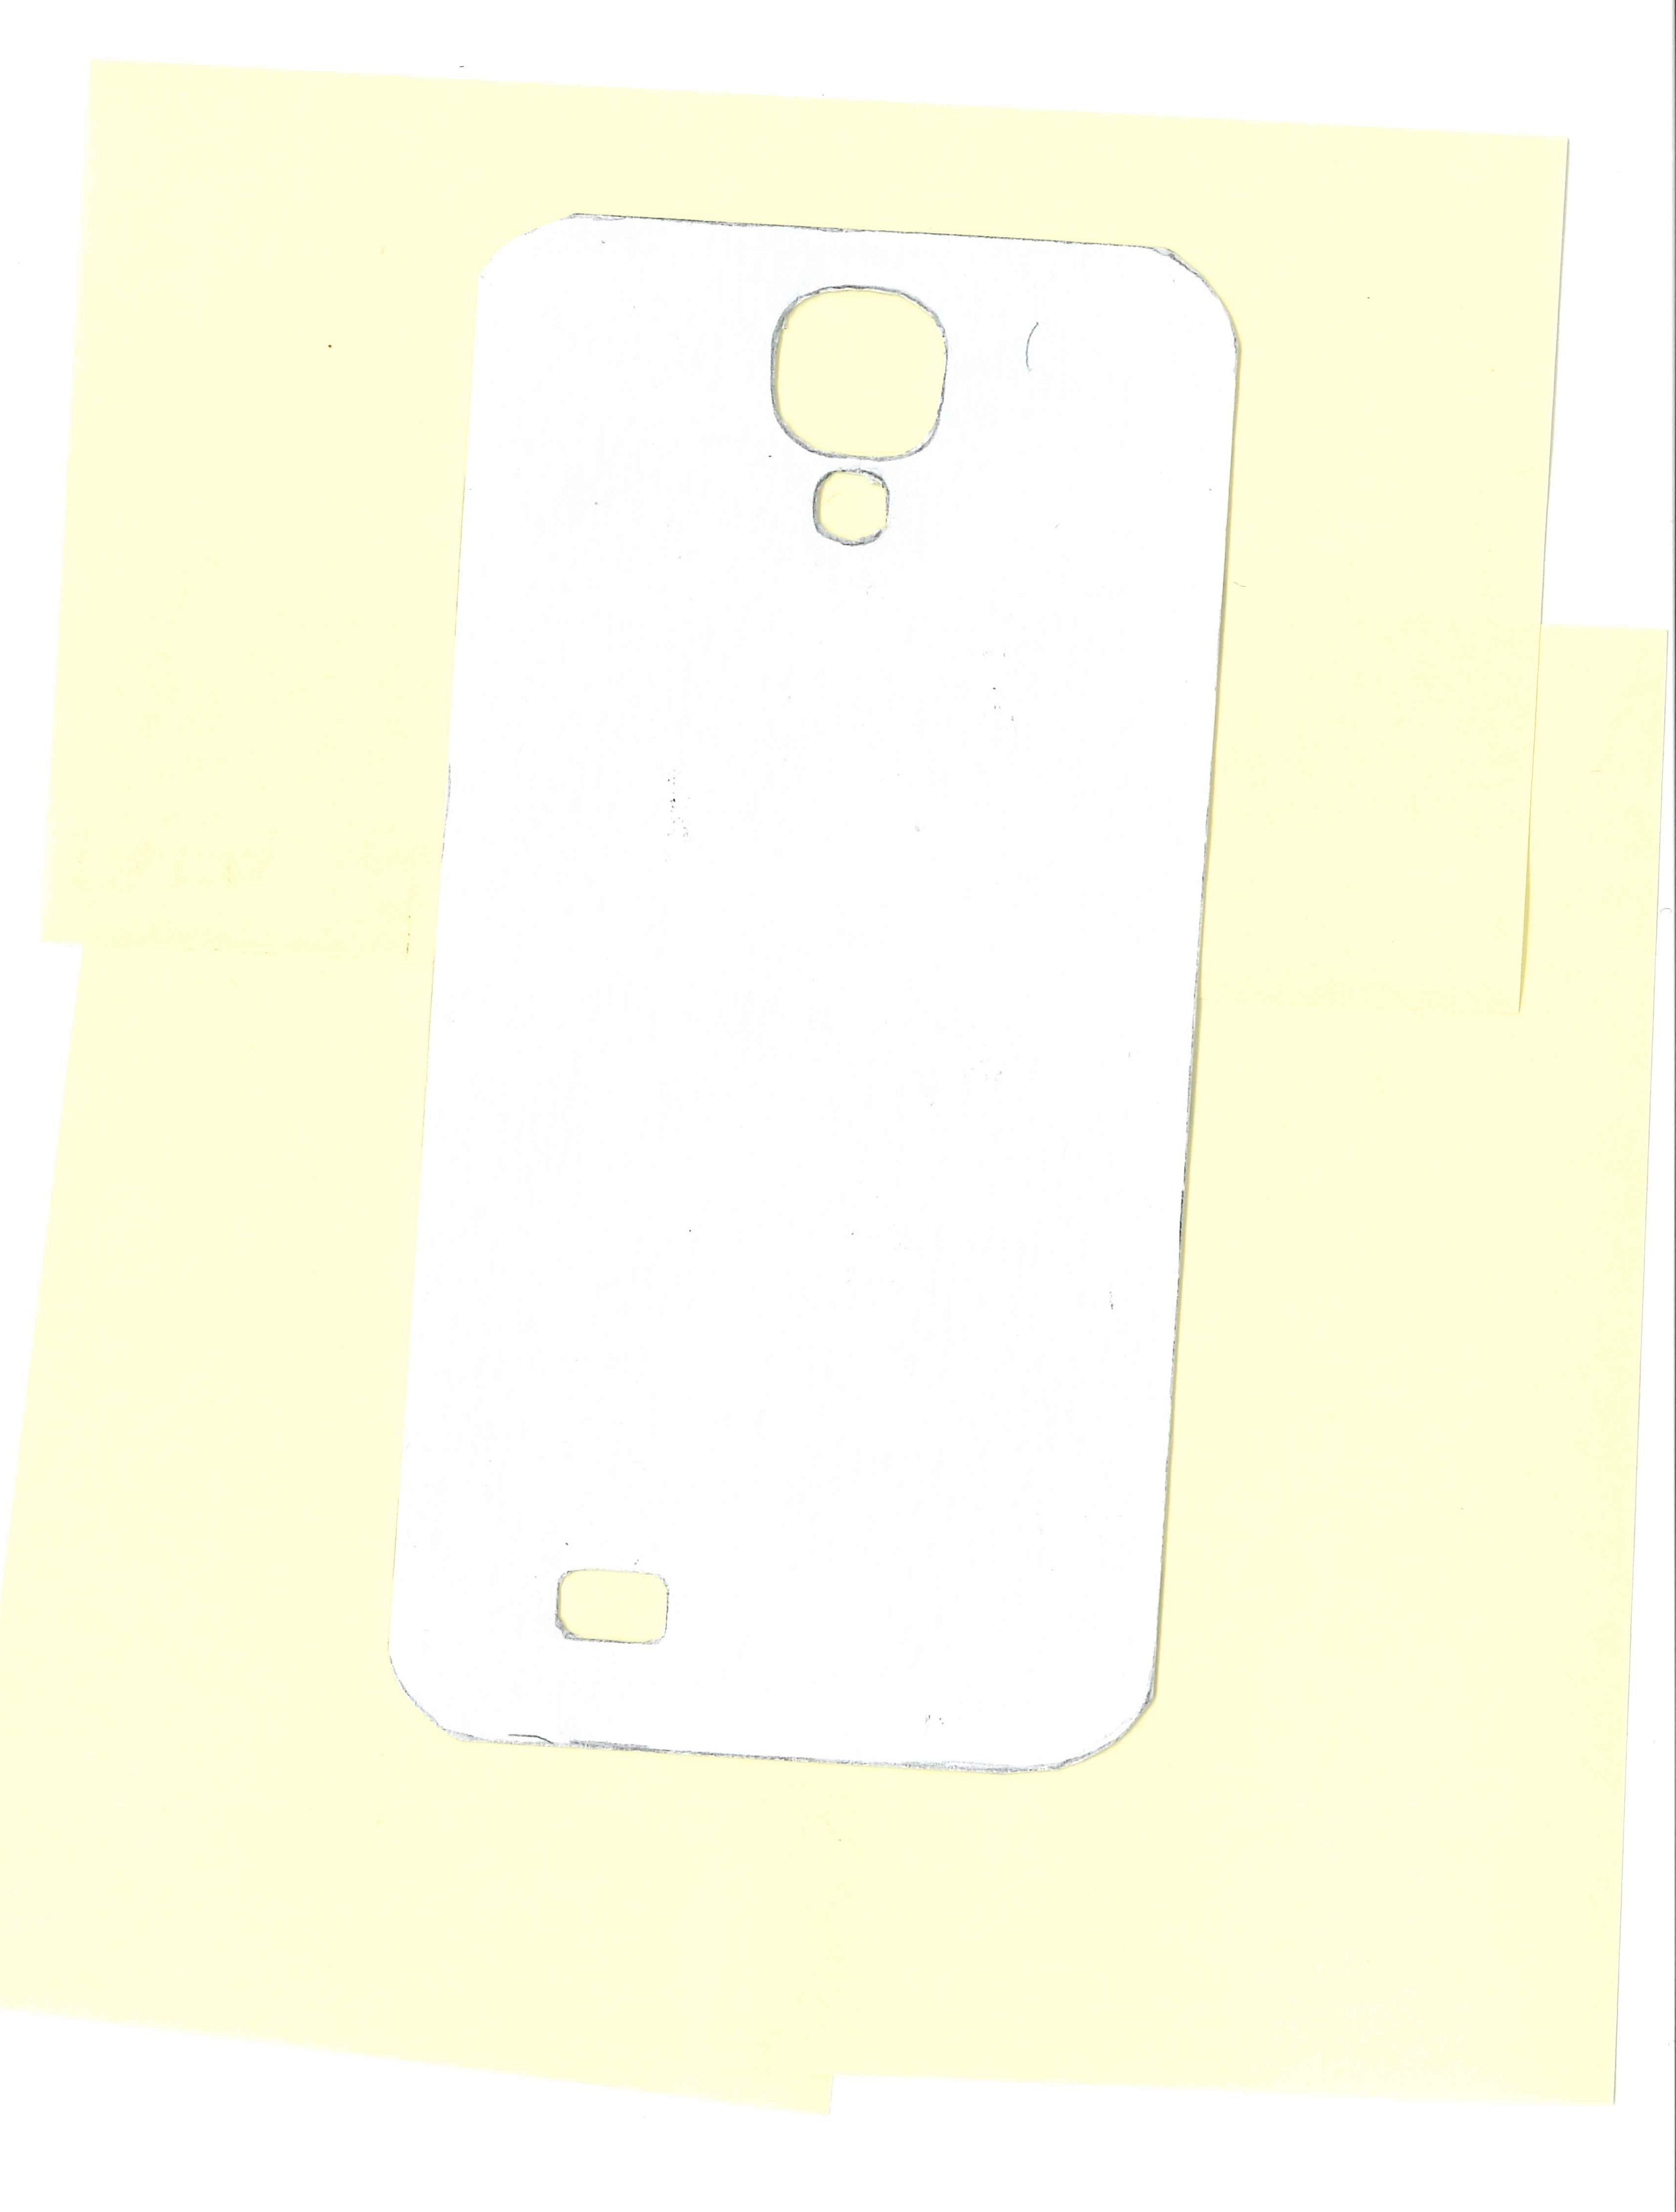
When the cover arrived, I set about making the paper inserts. Luckily there was a blank insert already with the cover which gave me a good starting point. I scanned this in using some post-it notes to add contrast. I then imported this into Silhouette Studio and used the “Trace” tool to get a set of cutting paths. I then tidied up the automatically created paths as they were a little messy in parts due to the contrast not being sharp enough between the white insert and the yellow post-its. I guess I should have used a darker contrast medium. Once cleaned up I did a test cut which came out ok but the hole left for the camera wasn’t completely on centre. It didn’t help either that i didn’t have access to the phone itself. I was relying completely on the case to be accurate.
I did a couple of copies of the cutting paths on one page, and moved the camera hole around slightly on each one. This way, I had three more test pieces along with the original. After testing with these, one more tweak was made and now I had a reliable set of cutting paths. Next step was to add the imagery.
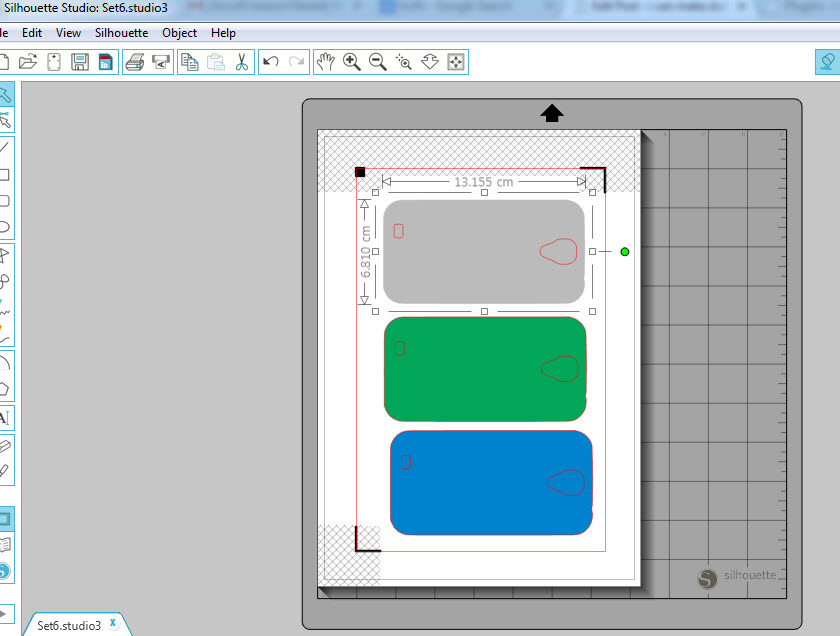
Screenshot of one of the sets of inserts as laid out in the Silhouette Studio software. I’ve shown just the base colours with the cutting paths in red (the red does not get printed). The registration marks can be seen in both of the top corners and in the and bottom left hand corner.
I used the images from the TedTees site for one or two and for inspiration for my own Ted themed inserts. As I had the cutting paths all laid out, it was pretty simple to run off a large batch of around 20 different inserts. Enough choice to keep my brother happy for a long time! Plus, with the studio files saved, any insert can be recreated easily so if they get lost or damaged, they can be replaced quickly and with little effort.